
Chapter 2: Creating Your First Resource
In this chapter, you'll create the Post resource - the core of our blog application.
What is a Resource?
In Plutonium, a resource is a complete unit consisting of:
- Model - The data structure (ActiveRecord)
- Definition - How the resource renders (fields, actions, UI)
- Policy - Who can do what (authorization)
- Controller - HTTP handling (auto-generated or custom)
Generating a Feature Package
First, let's create a feature package to hold our blogging logic:
rails generate pu:pkg:package bloggingThis creates:
packages/blogging/
├── app/
│   ├── controllers/blogging/
│   ├── definitions/blogging/
│   ├── interactions/blogging/
│   ├── models/blogging/
│   ├── policies/blogging/
│   └── views/blogging/
└── lib/
    └── engine.rb
Generating the Post Resource
Now generate the Post resource inside the blogging package:
rails generate pu:res:scaffold Post title:string body:text 'published:boolean?' --dest=bloggingThis creates:
Model (packages/blogging/app/models/blogging/post.rb)
class Blogging::Post < Blogging::ResourceRecord
  # Add validations, associations, and business logic here
end
Add scopes for filtering posts by publication status:
class Blogging::Post < Blogging::ResourceRecord
  scope :published, -> { where(published: true) }
  scope :drafts, -> { where(published: [false, nil]) }
end
Definition (packages/blogging/app/definitions/blogging/post_definition.rb)
class Blogging::PostDefinition < Blogging::ResourceDefinition
  # Customize field rendering, forms, and UI here
end
Policy (packages/blogging/app/policies/blogging/post_policy.rb)
class Blogging::PostPolicy < Blogging::ResourcePolicy
  def create?
    true
  end

  def read?
    true
  end

  def permitted_attributes_for_create
    [:title, :body, :published]
  end

  def permitted_attributes_for_read
    [:title, :body, :published]
  end

  def permitted_associations
    %i[]
  end
end
Migration
class CreateBloggingPosts < ActiveRecord::Migration[8.0]
  def change
    create_table :blogging_posts do |t|
      t.string :title, null: false
      t.text :body, null: false
      t.boolean :published

      t.timestamps
    end
  end
end
Running the Migration
rails db:prepareCreating a Portal
Resources need a portal to be accessible via the web. Let's create a public admin portal so we can explore the UI right away — we'll add authentication in Chapter 3.
rails generate pu:pkg:portal admin --publicThis creates the AdminPortal package mounted at /admin. The --public flag wires the portal's controller with Plutonium::Auth::Public, so any visitor can access it. (Other options: --auth=ACCOUNT to gate via a Rodauth account, or --byo for your own auth.)
Connecting the Resource
Connect the Post resource to the admin portal:
rails generate pu:res:conn Blogging::Post --dest=admin_portalThis:
- Adds routes for Post in the admin portal
- Creates a portal-specific controller
- Registers the resource with the portal
Starting the Server
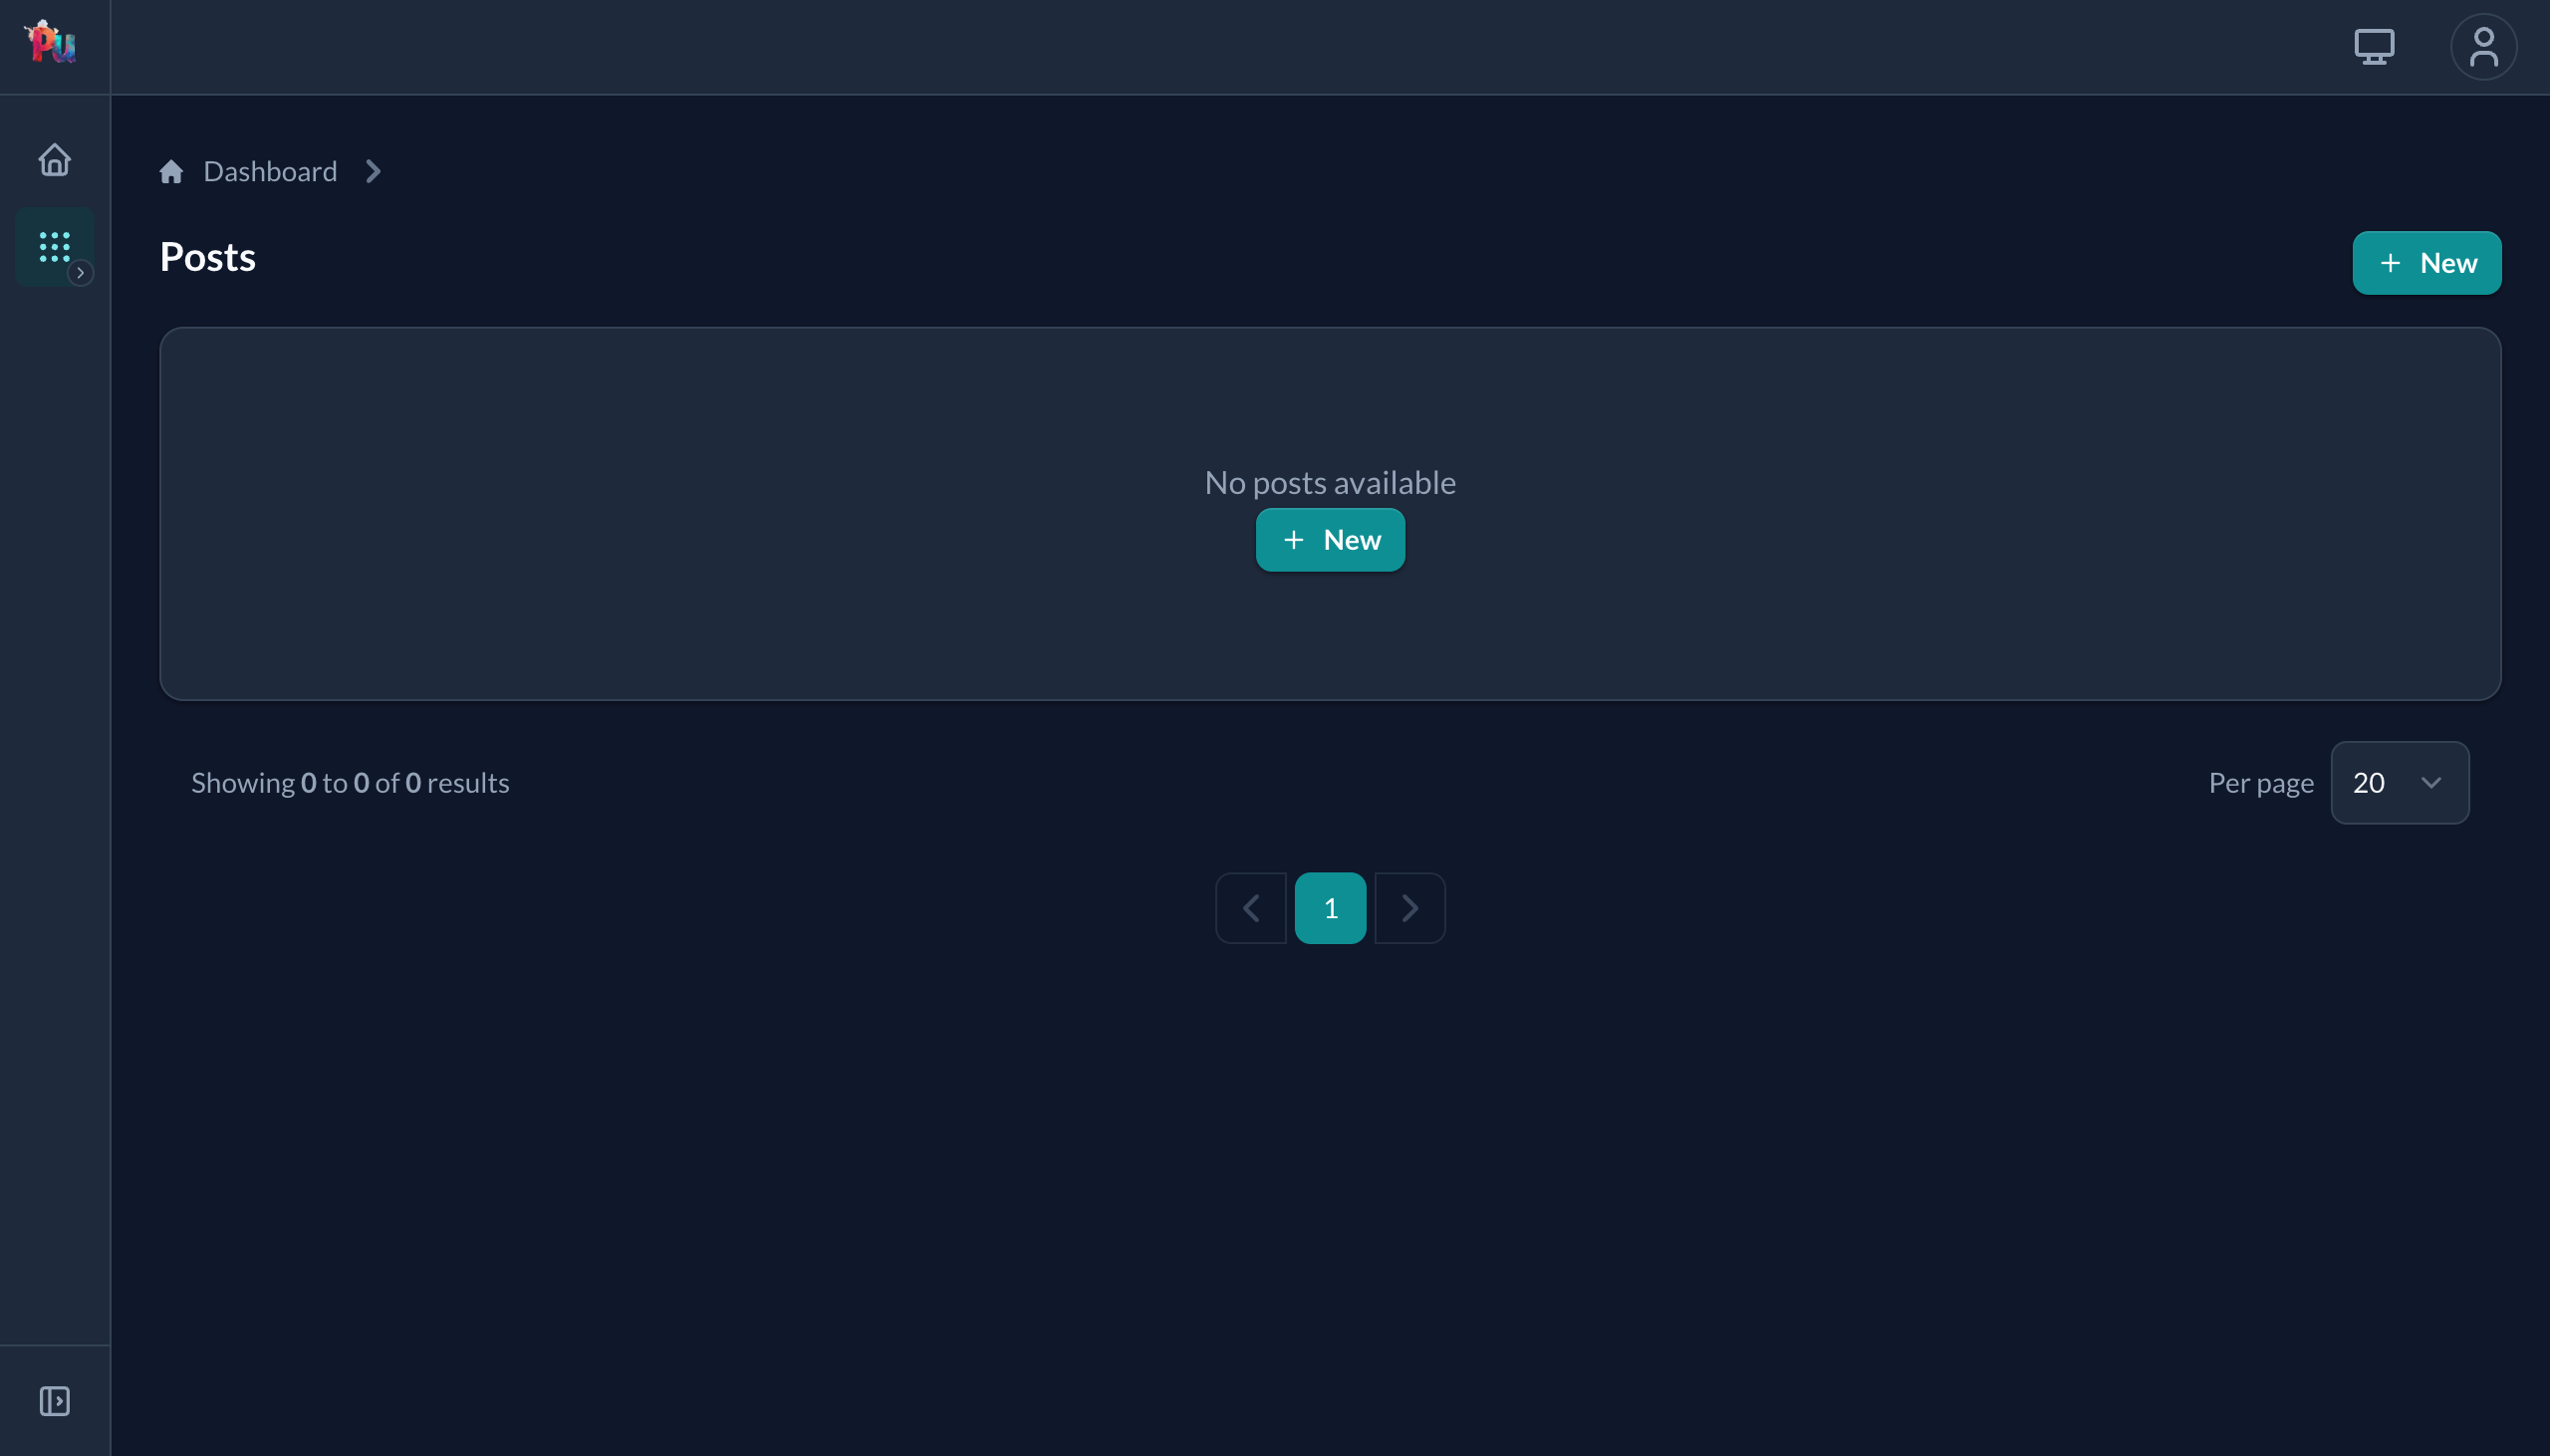
bin/devVisit http://localhost:3000/admin/blogging/posts. You should see an empty posts table with a "New Post" button:
Click "New" — the form is automatically generated from your model's attributes. By default Plutonium opens it as a slideover (right) so you keep the index visible; visiting /admin/blogging/posts/new directly renders the same form as a standalone page (left):
| Default — slideover from index | Standalone page (direct URL) |
|---|---|
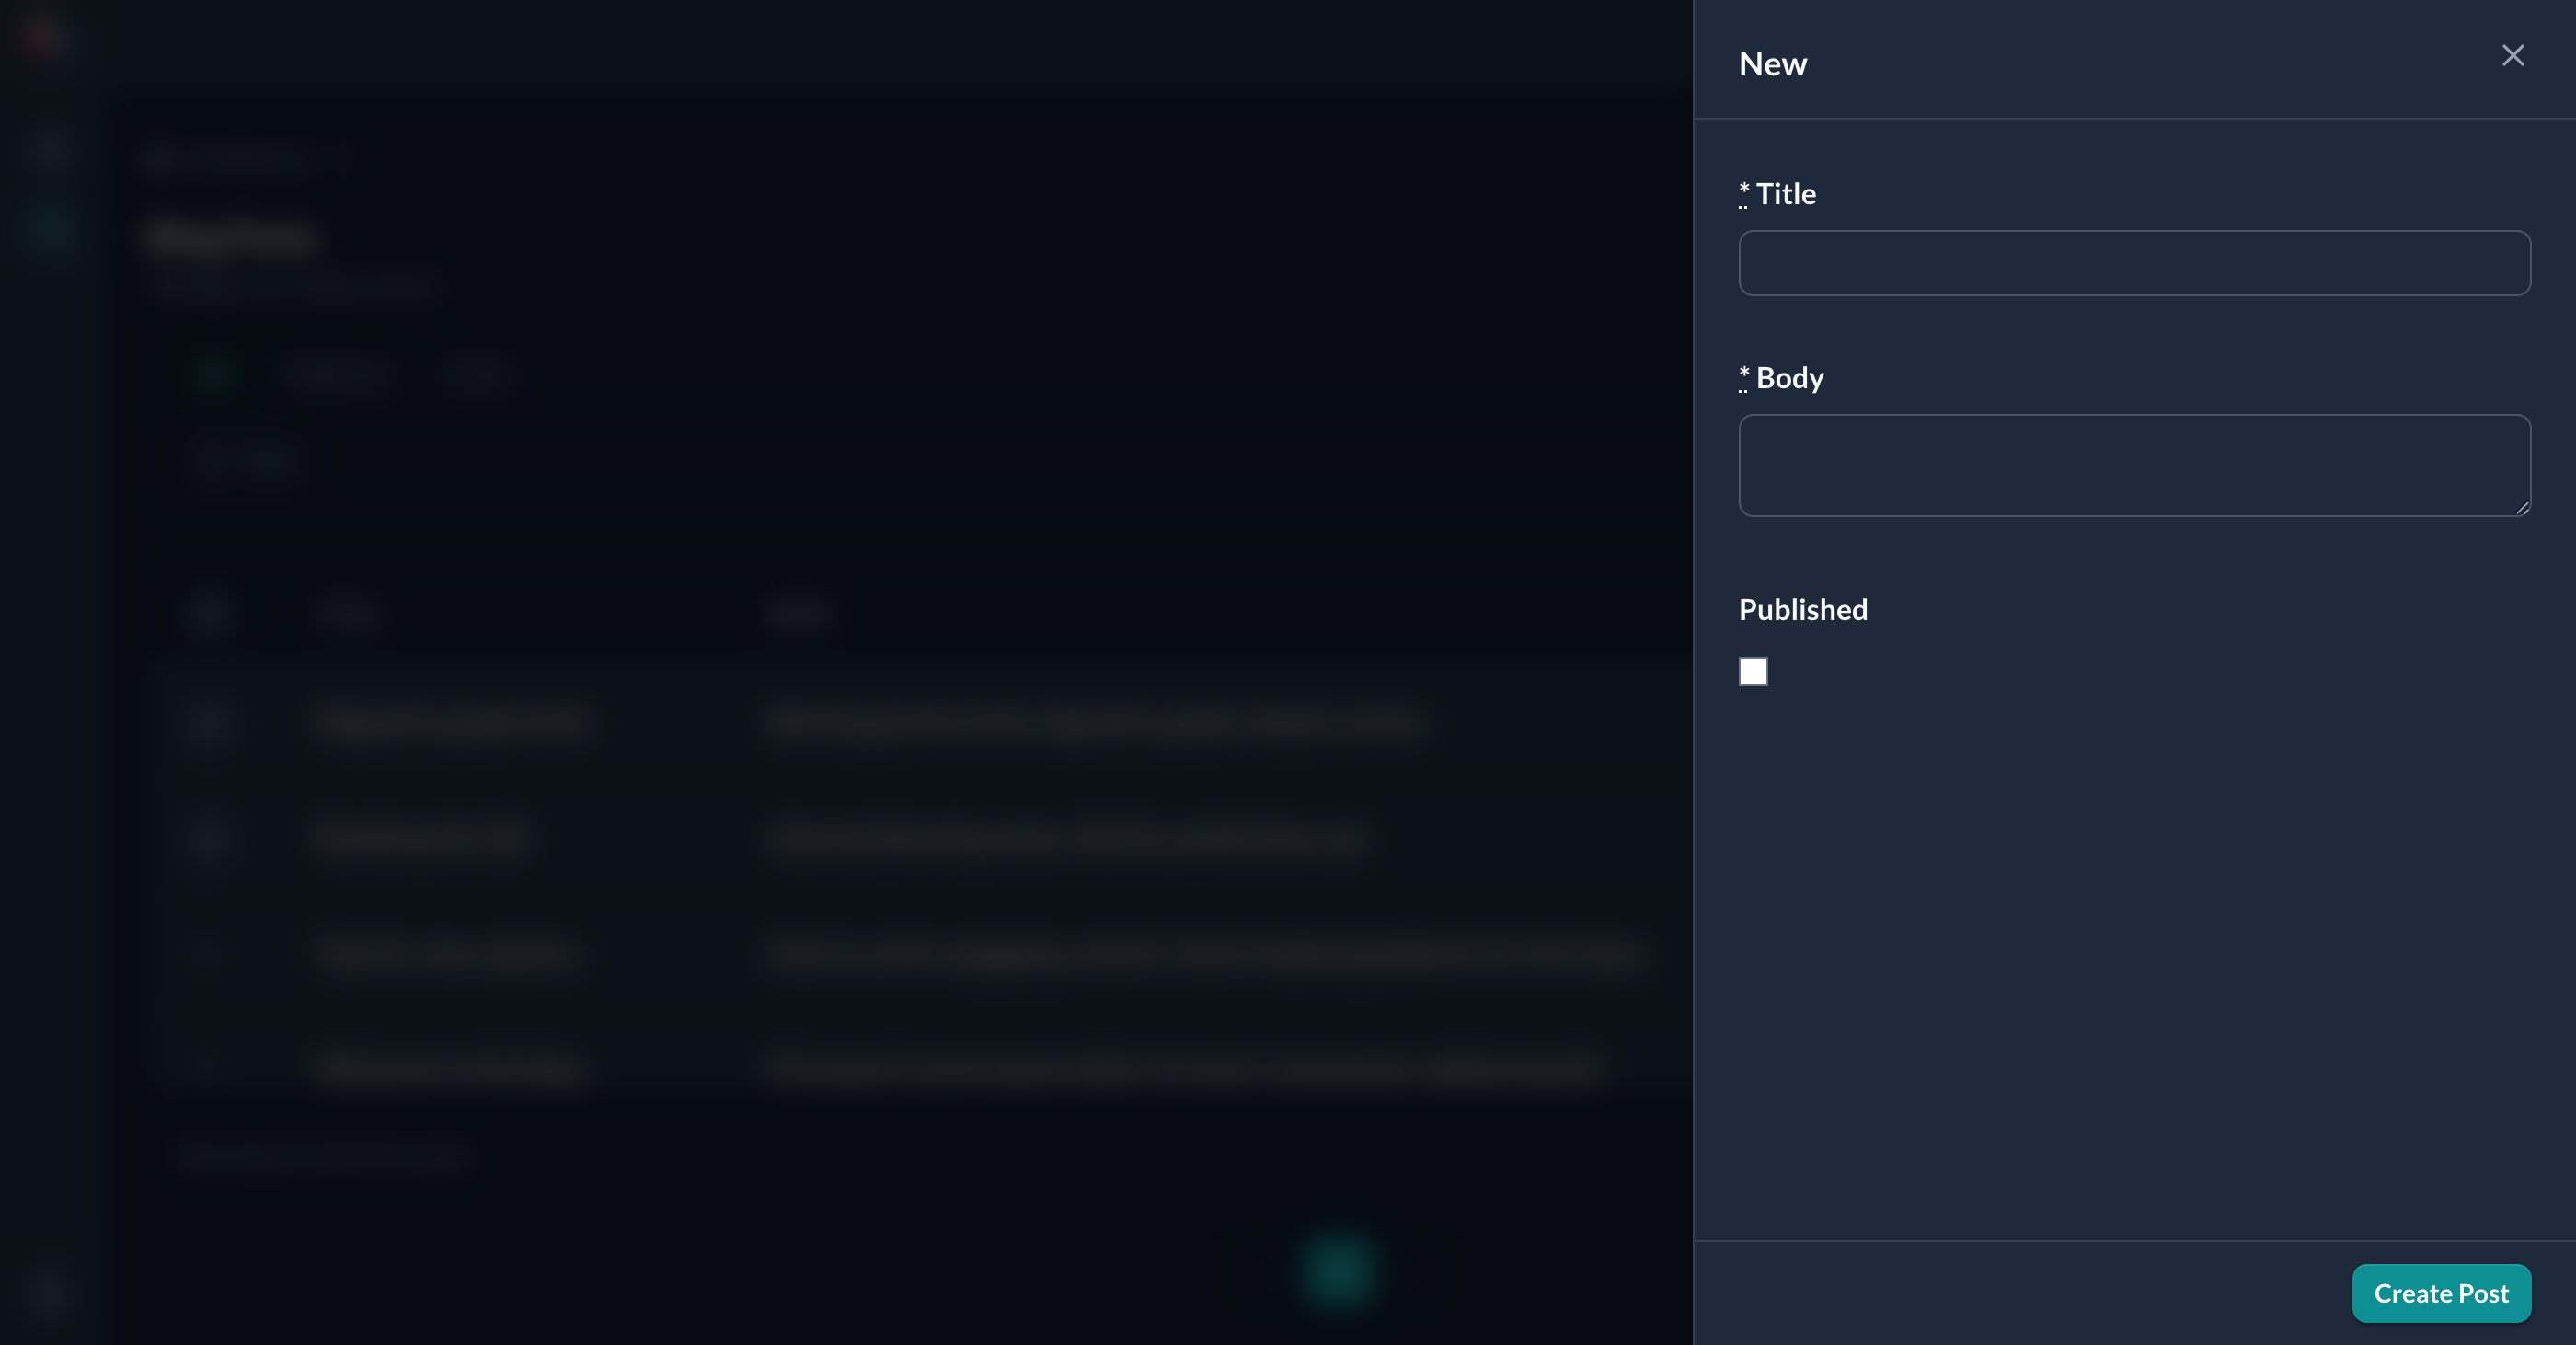 | 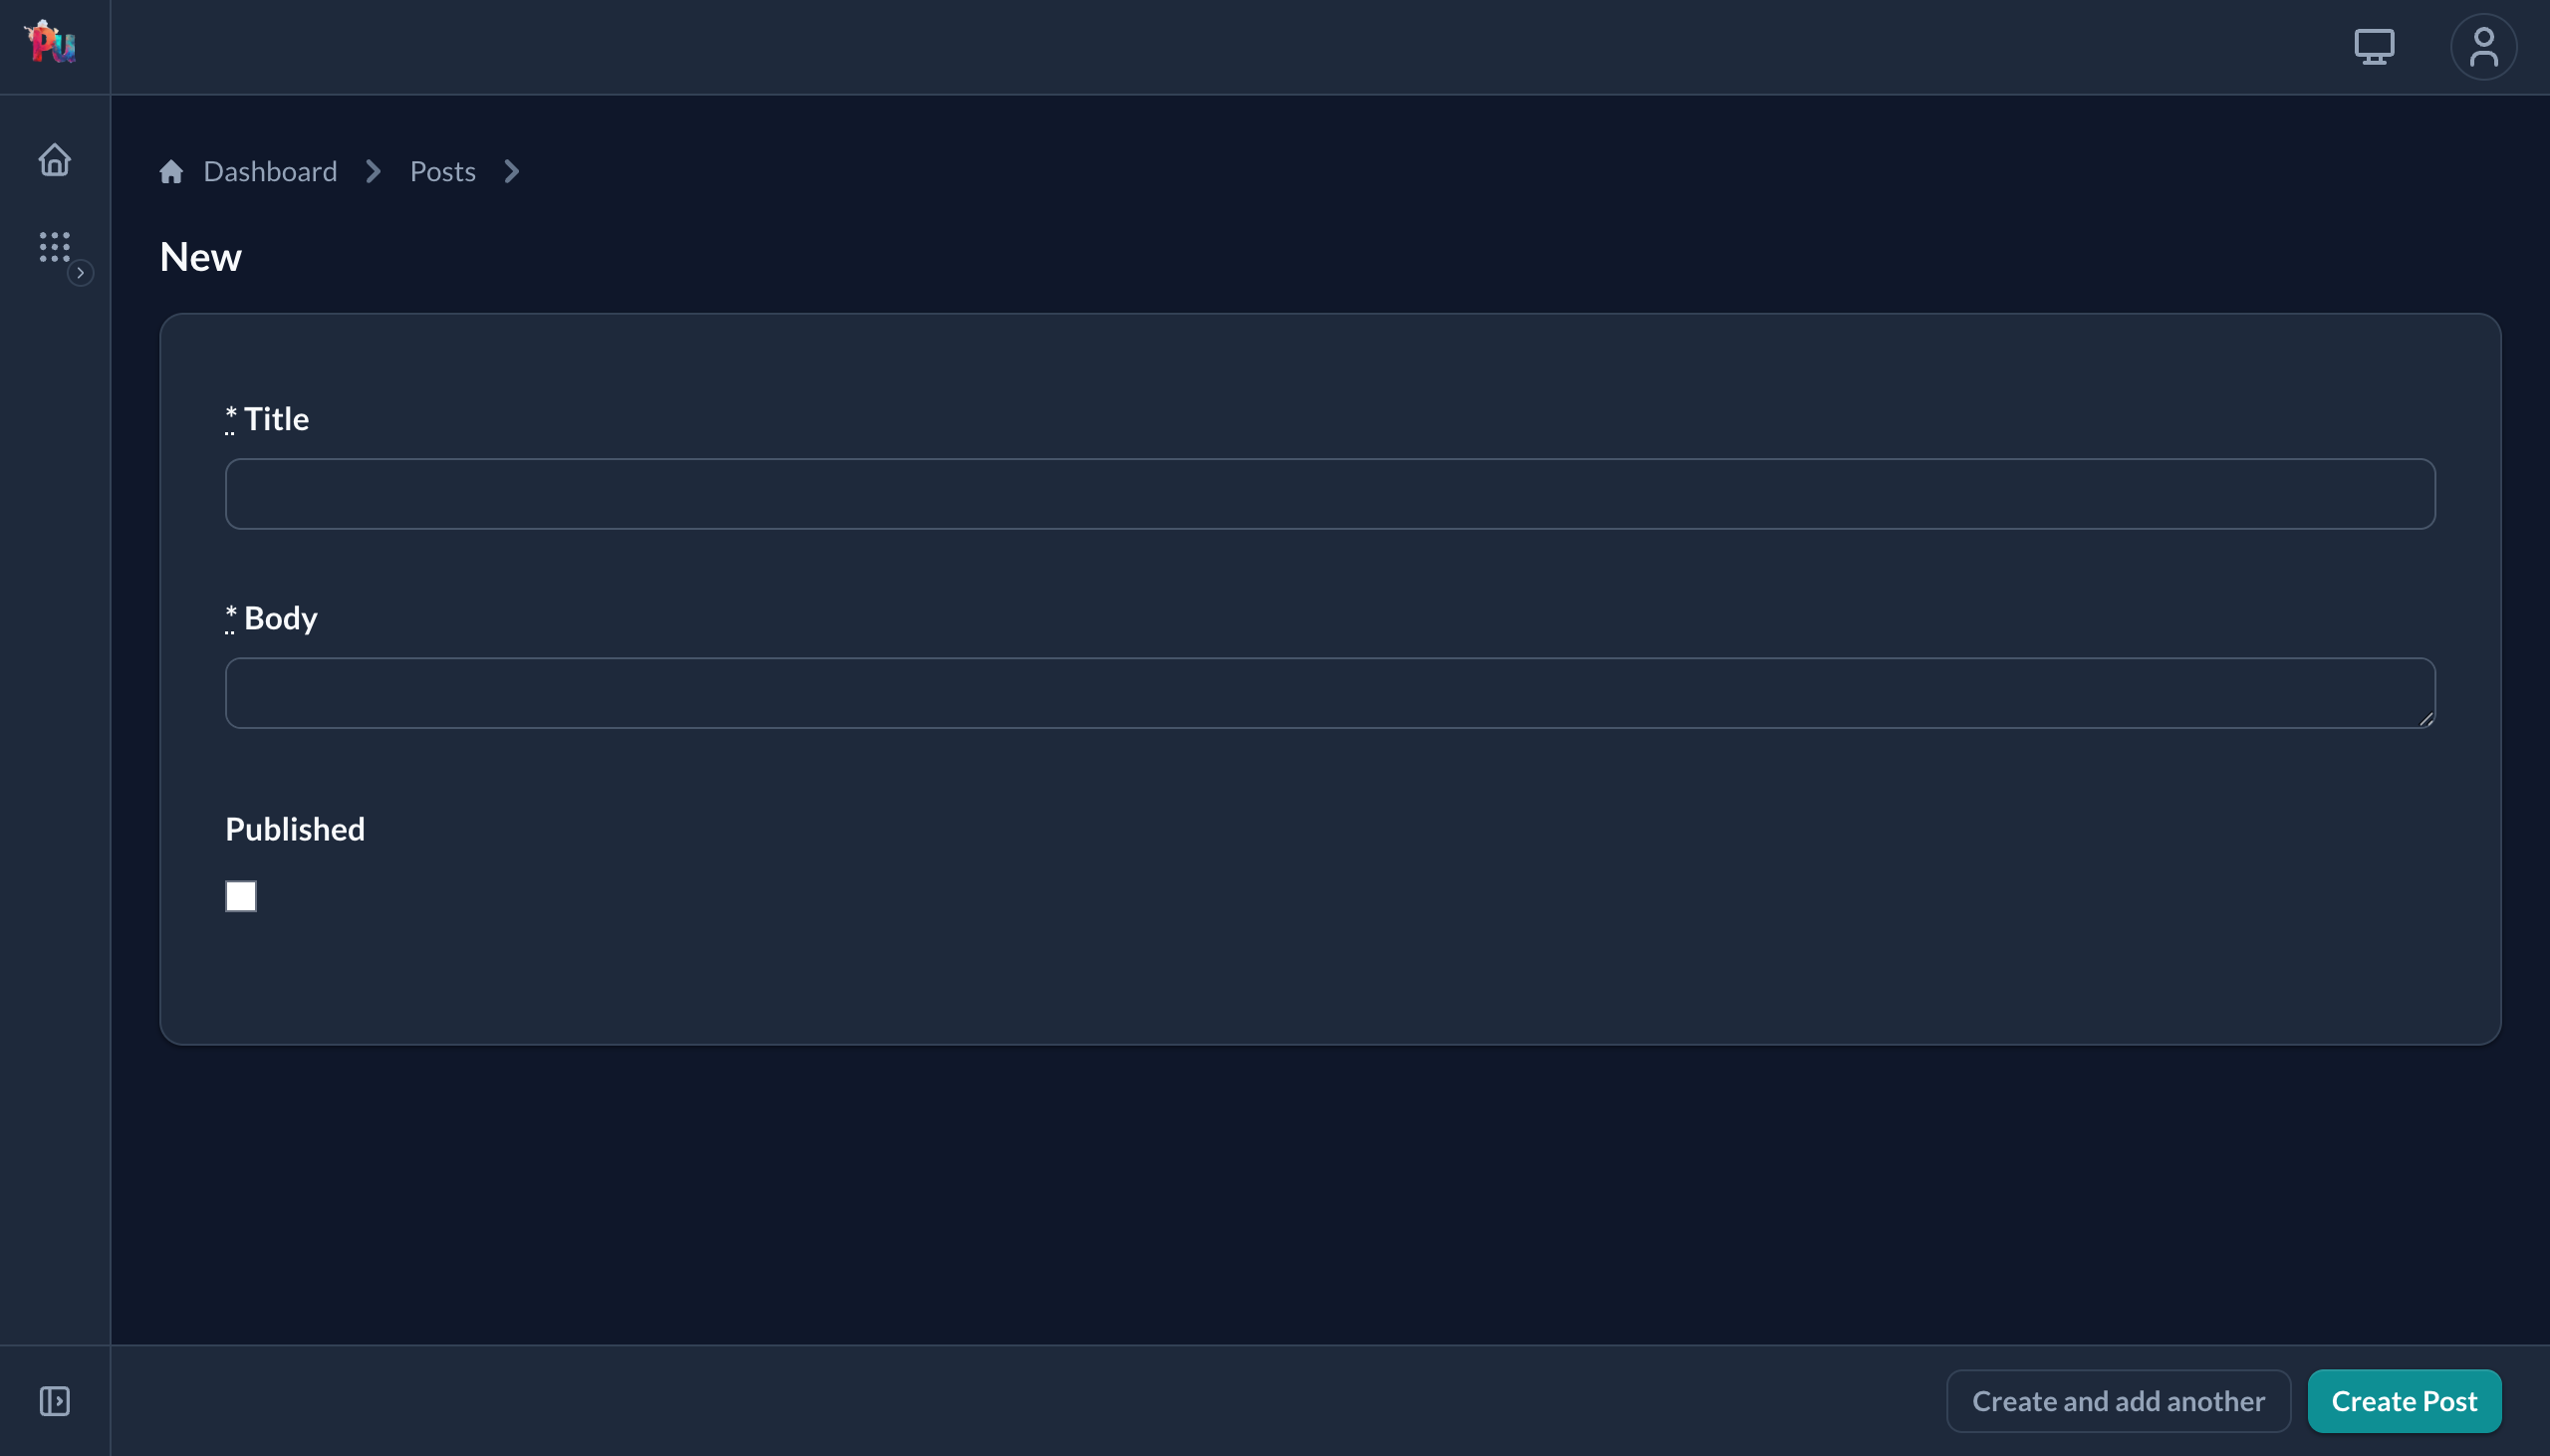 |
To always render full-page instead, set modal false in the definition. To pick a different style, use modal :centered. See Reference › Resource › Definition › Modal.
Create a few posts and the table fills in:

Understanding Auto-Detection
Notice that we wrote almost no configuration code. Plutonium auto-detected:
- Fields from the model's columns
- Validations from the model's validators
- Associations from belongs_to/has_many
- Form inputs based on column types
- Table columns from the policy's permitted attributes
This is Plutonium's core philosophy: convention over configuration. You only write code when you need to change the defaults.
Customizing Table Columns
By default, Plutonium shows all permitted attributes in the table. To customize which columns appear, use the policy's permitted_attributes_for_index method:
# packages/blogging/app/policies/blogging/post_policy.rb
module Blogging
  class PostPolicy < Blogging::ResourcePolicy
    # Control which columns appear in the index table
    def permitted_attributes_for_index
      [:title, :published, :created_at]
    end
  end
end
Refresh the page. The table now shows only the columns you specified.
What's Next
Our resource is working, but anyone can access it. In the next chapter, we'll add authentication with Rodauth.