
4. Creating a Portal
We have our Blogging feature package with Post and Comment resources, but no user interface to manage them. Let's create a Portal to serve as a web interface for our blog.
What are Portal Packages?
While Feature Packages hold business logic, Portal Packages provide the web interface. They are also Rails Engines, but they are responsible for things like:
- Dashboards and layouts.
- Routing requests to the correct resources.
- Handling user authentication for the interface.
We'll create a Dashboard portal for managing our blog.
Generate the Portal
Plutonium has a generator for portals. In your terminal, run:
rails generate pu:pkg:portal dashboardThe generator will ask which authentication account to use. We already set up the user account with Rodauth, so select user.
This creates a new package at packages/dashboard_portal/ and wires it up for authentication.
Connect Resources to the Portal
Now we need to tell our new Dashboard portal which resources it should manage. We can use the pu:res:conn (connect) generator for this.
Run the connect generator:
rails generate pu:res:connIt will ask you a series of questions:
- Select source feature: Choose
blogging. - Select resources: Use the spacebar to select both
Blogging::PostandBlogging::Comment, then press Enter. - Select destination portal: Choose
dashboard_portal.
This command does the magic of connecting your feature logic to your UI. It updates the portal's routes file (packages/dashboard_portal/config/routes.rb) to register the resources:
# packages/dashboard_portal/config/routes.rb
DashboardPortal::Engine.routes.draw do
  root to: "dashboard#index"

  register_resource Blogging::Post
  register_resource Blogging::Comment
end
Configure Application Routes
There's one last step. We need to tell our main Rails application how to handle routing for authentication and the new dashboard.
Update Rodauth Redirects: We want users to be sent to the dashboard after they log in or sign up.
ruby# ==> Redirects # Redirect to home after login. create_account_redirect "/" create_account_redirect "/dashboard" # Redirect to home after login. login_redirect "/" login_redirect "/dashboard" # Redirect to home page after logout. logout_redirect "/" logout_redirect "/dashboard"Update Root Route: We'll make the dashboard the root of our application.
rubyRails.application.routes.draw do # ... # Defines the root path route ("/") # root "posts#index" # root to: redirect("/dashboard") end
See it in Action!
Let's check our progress. Start your Rails server (bin/dev) and navigate to http://localhost:3000.
You will be redirected to /dashboard and should see the login page.
- Sign up for a new account.
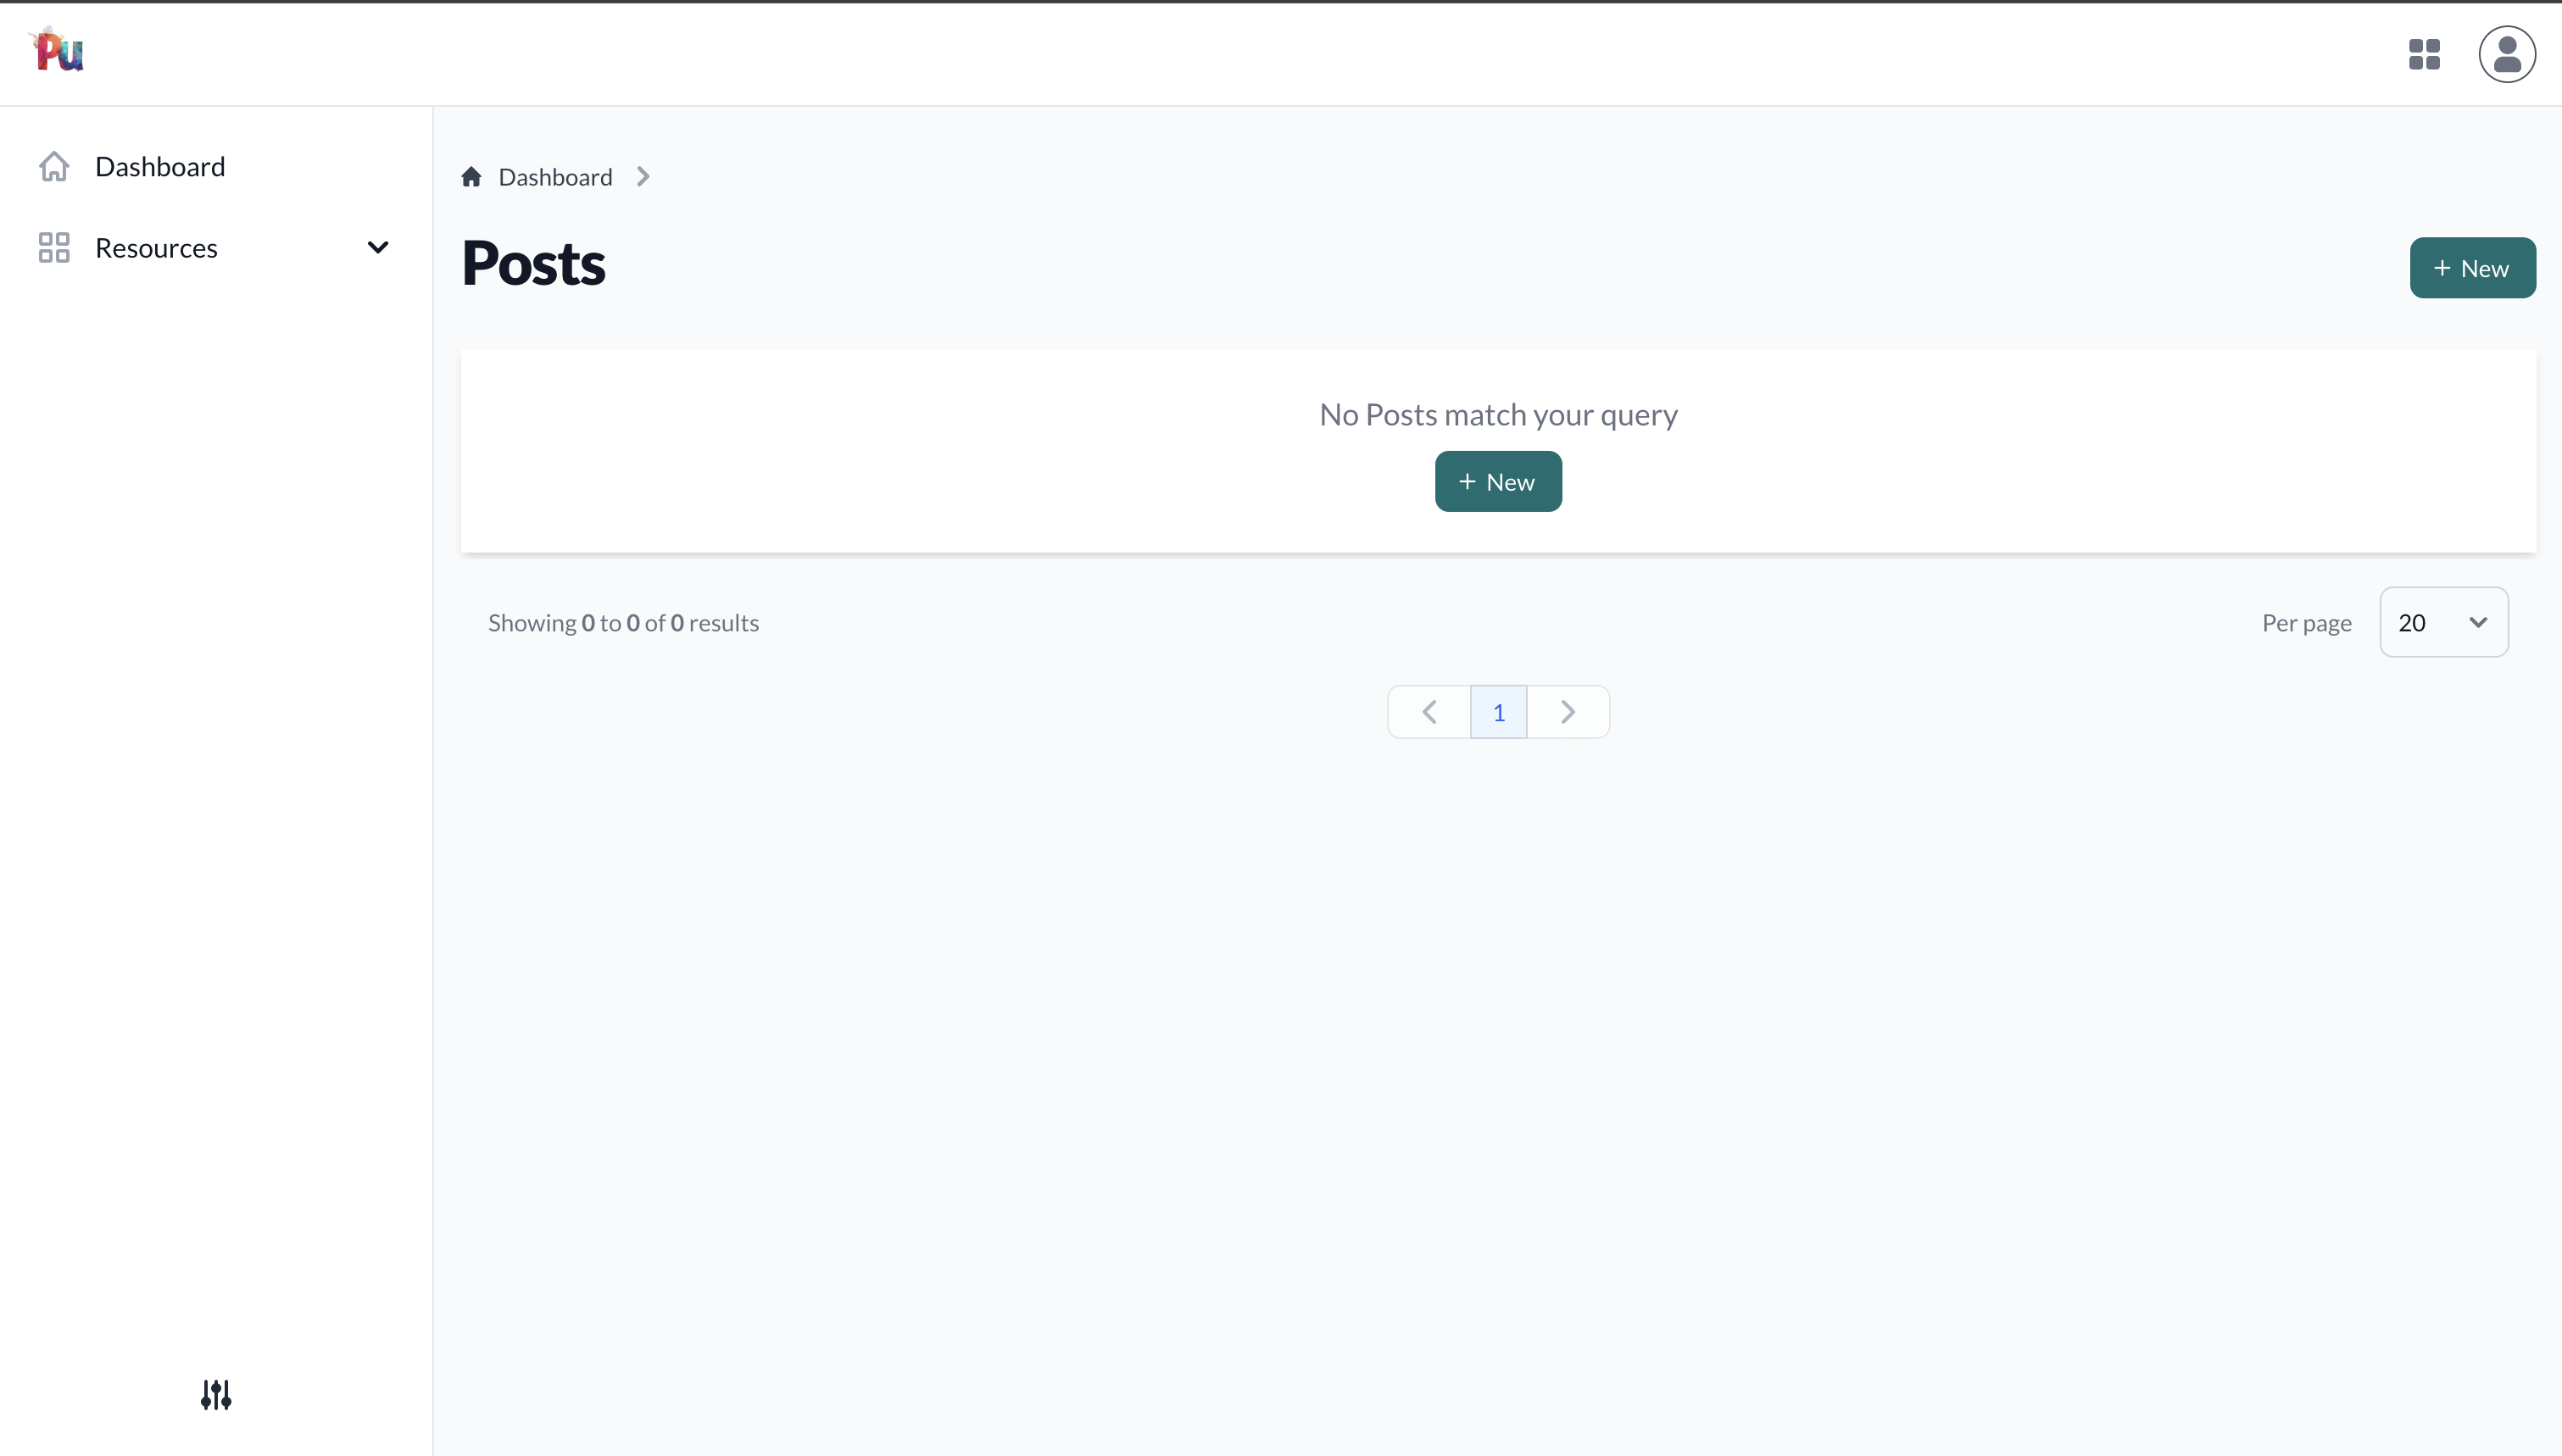
- After signing up, you'll be redirected to the dashboard. It will be empty for now, but this confirms the portal and authentication are working!
Next Steps
We now have a functional dashboard! It's not very useful yet, though.
In the next chapter, we will customize the user interface to display our posts and comments, and add navigation to make them accessible.