Building a Blog with Plutonium
Quick Links:
This tutorial walks through building a blog application using Plutonium. You'll learn how to:
- Set up authentication using Rodauth
- Create a blog feature package
- Build a dashboard/portal
- Implement posts and comments
- Add interactive actions
- Configure scoping and authorization
[Rest of the tutorial content remains exactly the same...]
Initial Setup
Let's start by creating a new Rails application with Plutonium:
rails new plutonium_app -a propshaft -j esbuild -c tailwind \
  -m https://radioactive-labs.github.io/plutonium-core/templates/plutonium.rb
This creates a new Rails application with:
- Propshaft as the asset pipeline
- esbuild for JavaScript bundling
- Tailwind CSS for styling
- Plutonium's base configuration
Setting Up Authentication
Next, let's add authentication using Rodauth:
# Generate Rodauth configuration
rails generate pu:rodauth:install

# Generate user account setup
rails generate pu:rodauth:account user
rails db:migrate
This sets up:
- A User model with authentication
- Login/logout functionality
- Account verification via email
- Password reset capabilities
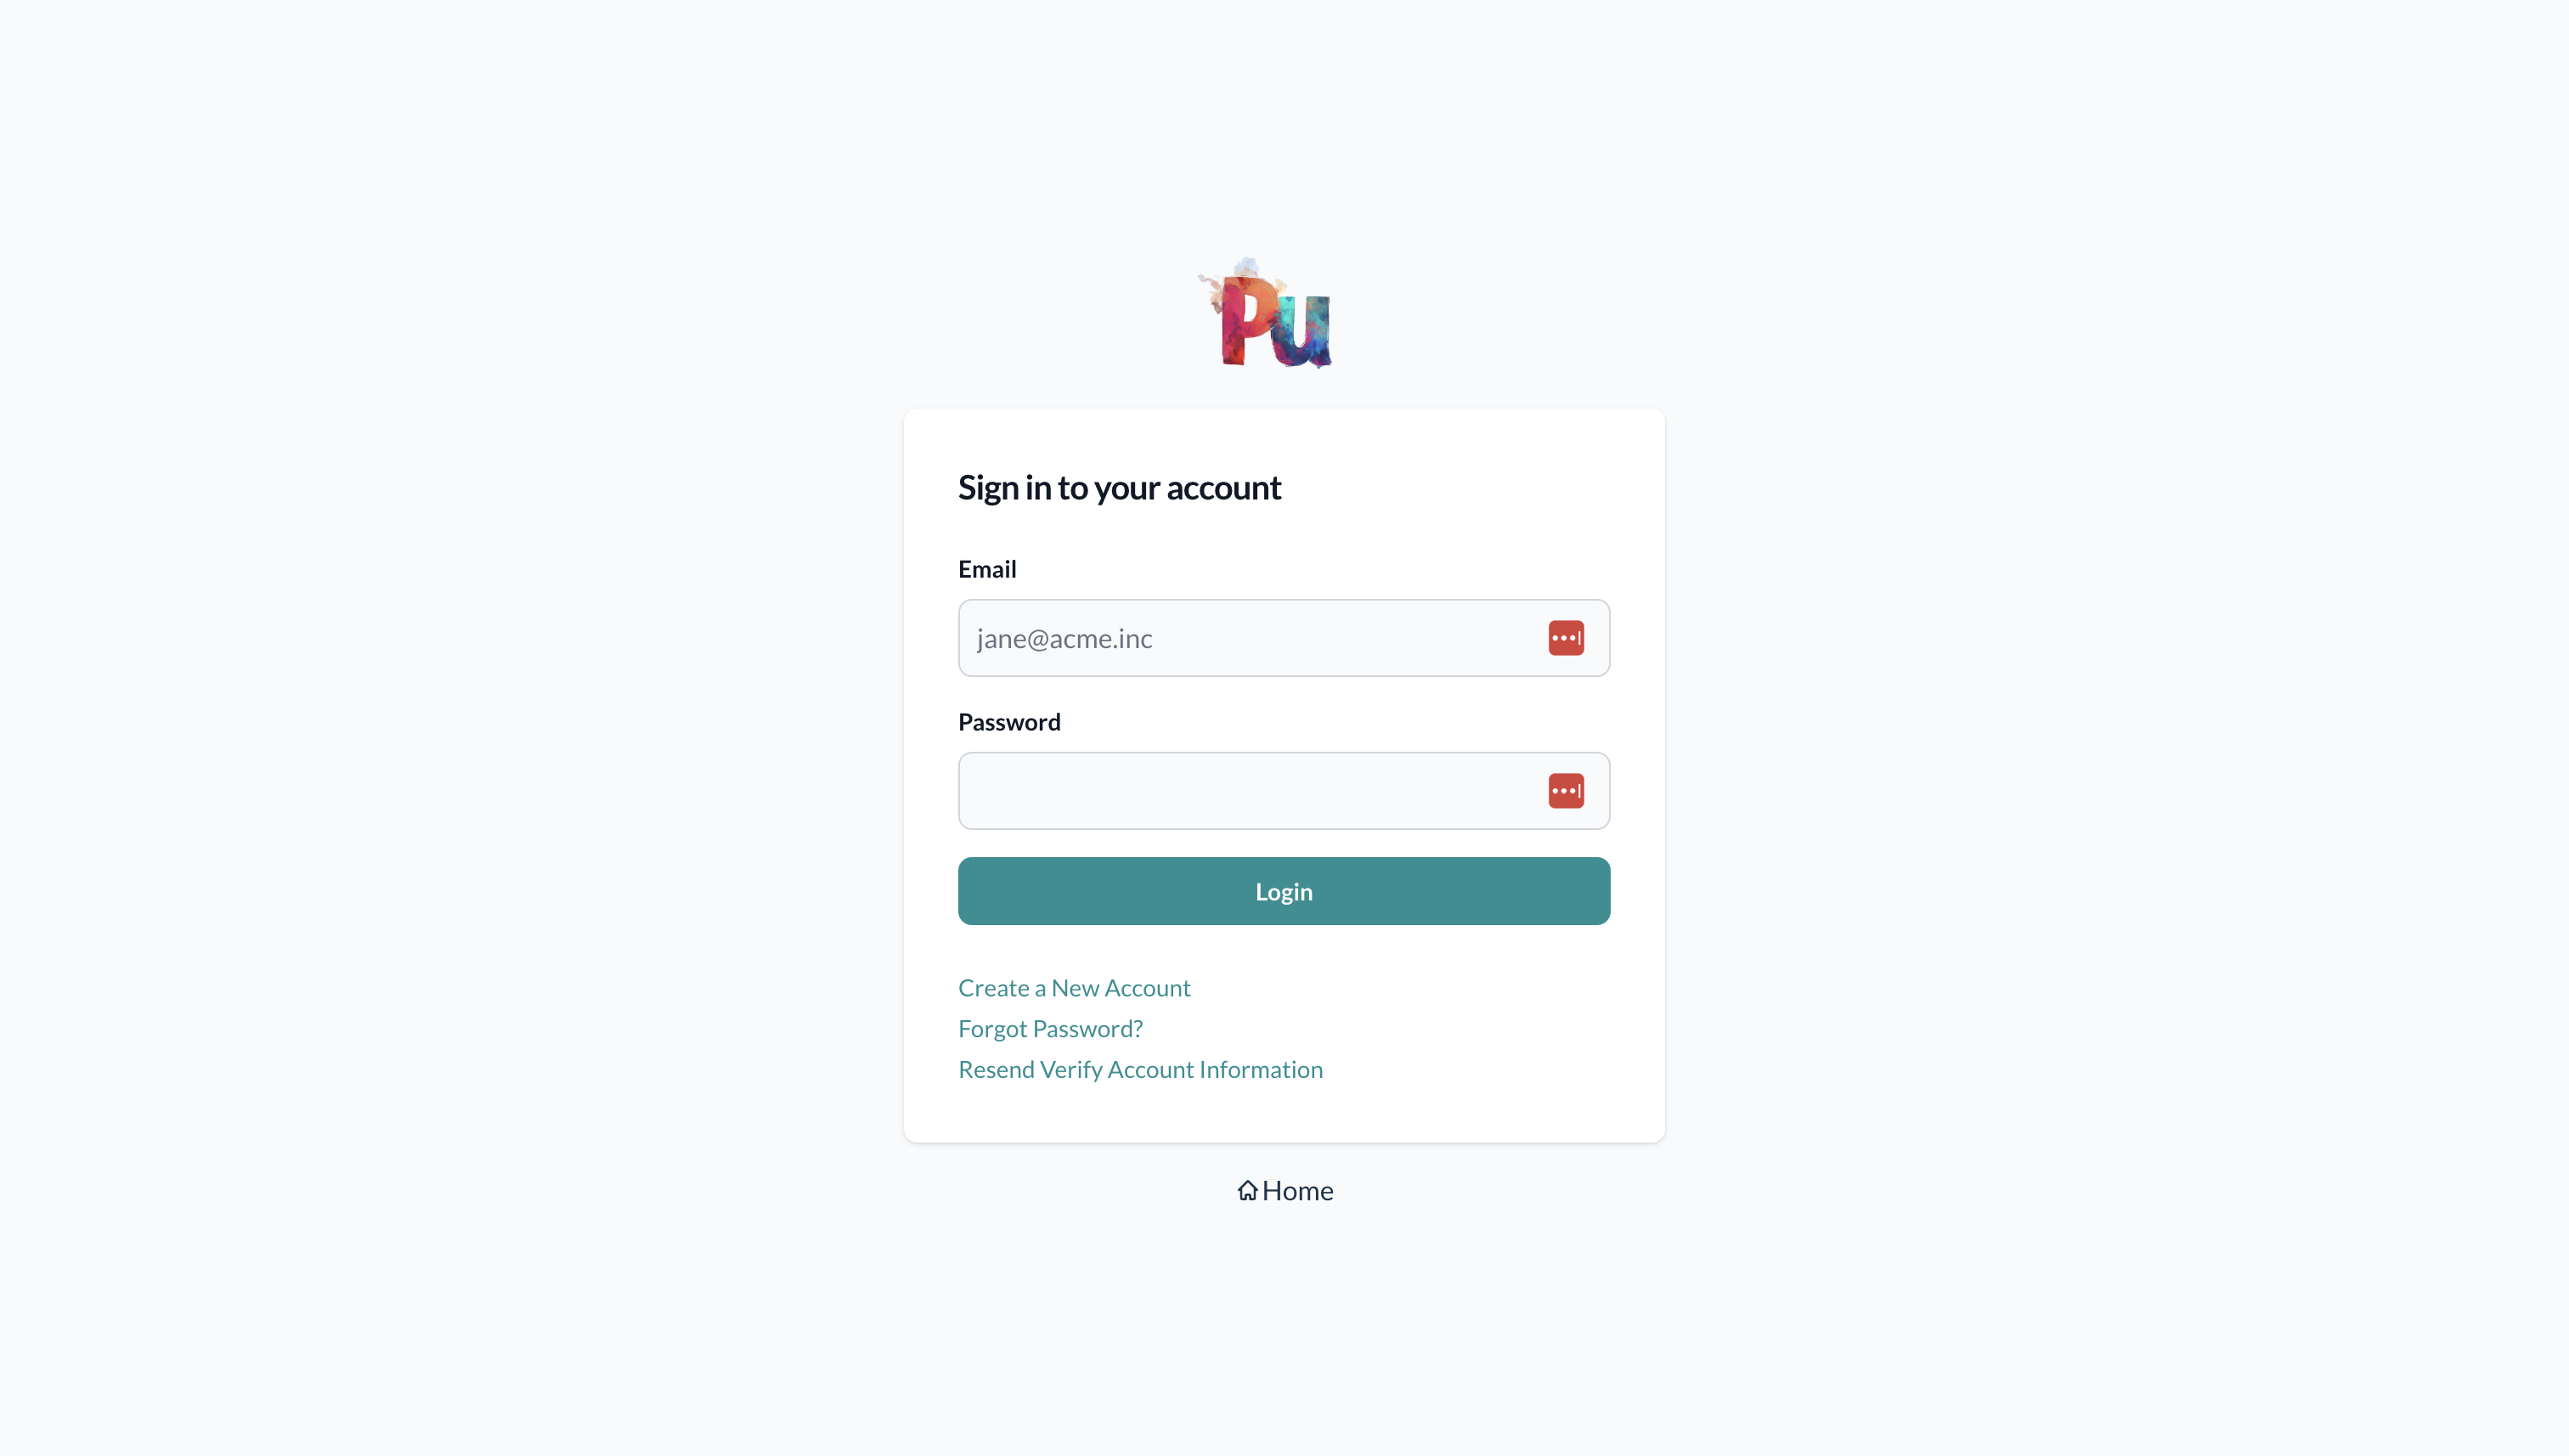
The key files created include:
app/models/user.rb- The User modelapp/rodauth/user_rodauth_plugin.rb- Rodauth configurationapp/controllers/rodauth_controller.rb- Base controller for auth pages- Database migrations for users and auth-related tables
Creating the Blog Feature Package
Let's create a dedicated package for our blogging functionality:
rails generate pu:pkg:package bloggingThis generates a new feature package under packages/blogging/ with:
- Base controllers
- Model and policy base classes
- Package-specific views directory
- Engine configuration
Adding Posts Resource
Now we can add our first resource - blog posts:
rails generate pu:res:scaffold post user:belongs_to title:string \
  content:text 'published_at:datetime?'
TIP
Unlike Rails, Plutonium generates fields as non-null by default. Appending ? to the type e.g. published_at:datetime? makes published_at a nullable datetime.
When prompted, select the blogging feature package.
This creates:
- Post model with associations
- Policy class with basic permissions
- Controllers for CRUD operations
- Database migration
The generated post model includes:
class Blogging::Post < Blogging::ResourceRecord
  belongs_to :user
  validates :title, presence: true
  validates :content, presence: true
end
Remember to apply the new migrations:
rails db:migrateCreating the Dashboard Portal
Let's add a portal to manage our blog:
rails generate pu:pkg:portal dashboardWhen prompted, select user for authentication.
This creates a new portal package under packages/dashboard_portal/ with:
- Portal-specific controllers
- Resource presentation layer
- Dashboard views
- Authenticated routes
Configure Routes
Let's configure our application routes to properly handle authentication and dashboard access:
# ==> Redirects

# Redirect to home after login.
create_account_redirect "/"
create_account_redirect "/dashboard"

# Redirect to home after login.
login_redirect "/"
login_redirect "/dashboard"

# Redirect to home page after logout.
logout_redirect "/"
logout_redirect "/dashboard"

# Redirect to wherever login redirects to after account verification.
verify_account_redirect { login_redirect }Rails.application.routes.draw do
# Other routes...
# Defines the root path route ("/")
# root "posts#index" #
root to: redirect("/dashboard")
endThese changes ensure that:
- Users are directed to the dashboard after signing up
- Users are directed to the dashboard after logging in
- Users are directed to the dashboard after logging out
- The root URL (
/) redirects to the dashboard - Account verification follows the same flow as login
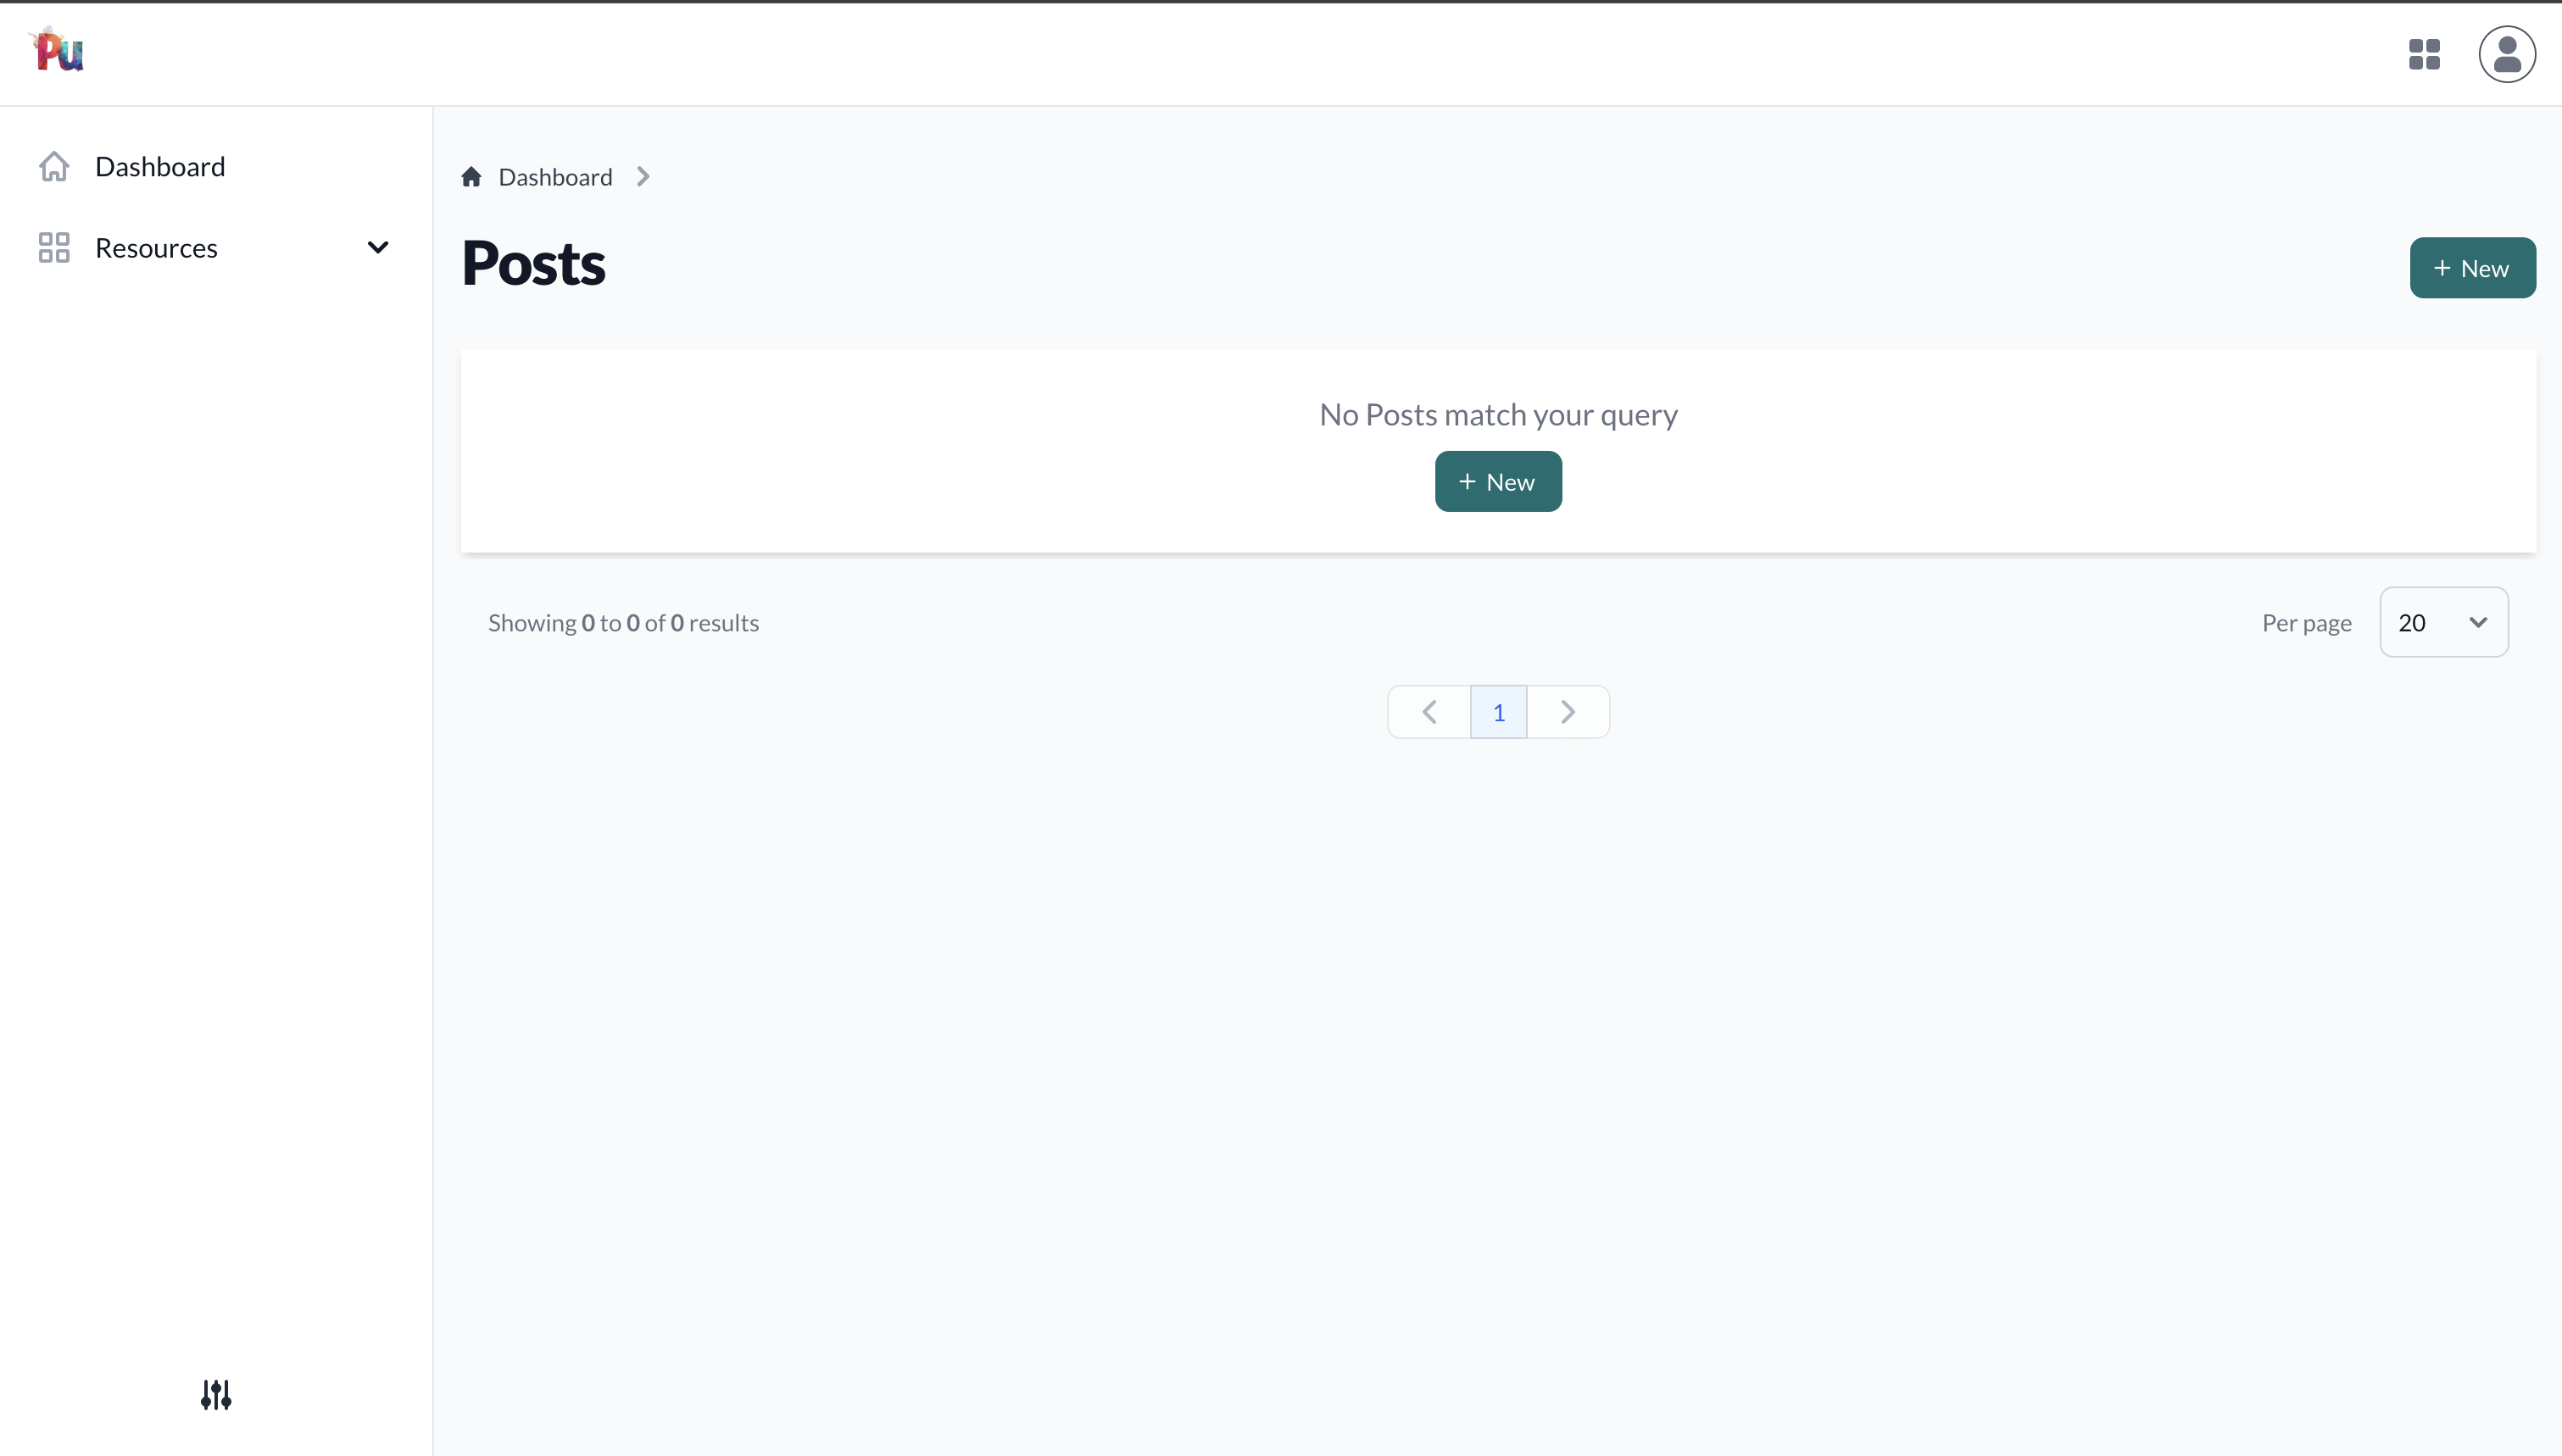
Connecting Posts to Dashboard
We can now connect our blog posts to the dashboard:
rails generate pu:res:connSelect:
- Source feature:
blogging - Resources:
Blogging::Post - Portal:
dashboard_portal
This configures the routing and controllers to display posts in the dashboard.
Adding Comments
Let's add commenting functionality:
rails generate pu:res:scaffold comment blogging/post:belongs_to \
  user:belongs_to body:text

rails db:migrate

rails generate pu:res:conn
TIP
Note the use of the namespaced model in the association blogging/post.
Plutonium has inbuilt support for handling namespaces, generating:
# model
belongs_to :post, class_name: "Blogging::Post"

# migration
t.belongs_to :post, null: false, foreign_key: {:to_table=>:blogging_posts}
This creates:
- Comment model with associations
- Policy controlling access
- CRUD interface in dashboard
- Proper routing configuration
Customizing the Interface
Post Table Customization
We can customize how posts appear in the table view:
# packages/blogging/app/policies/blogging/post_policy.rb
def permitted_attributes_for_index
  [:user, :title, :published_at, :created_at]
end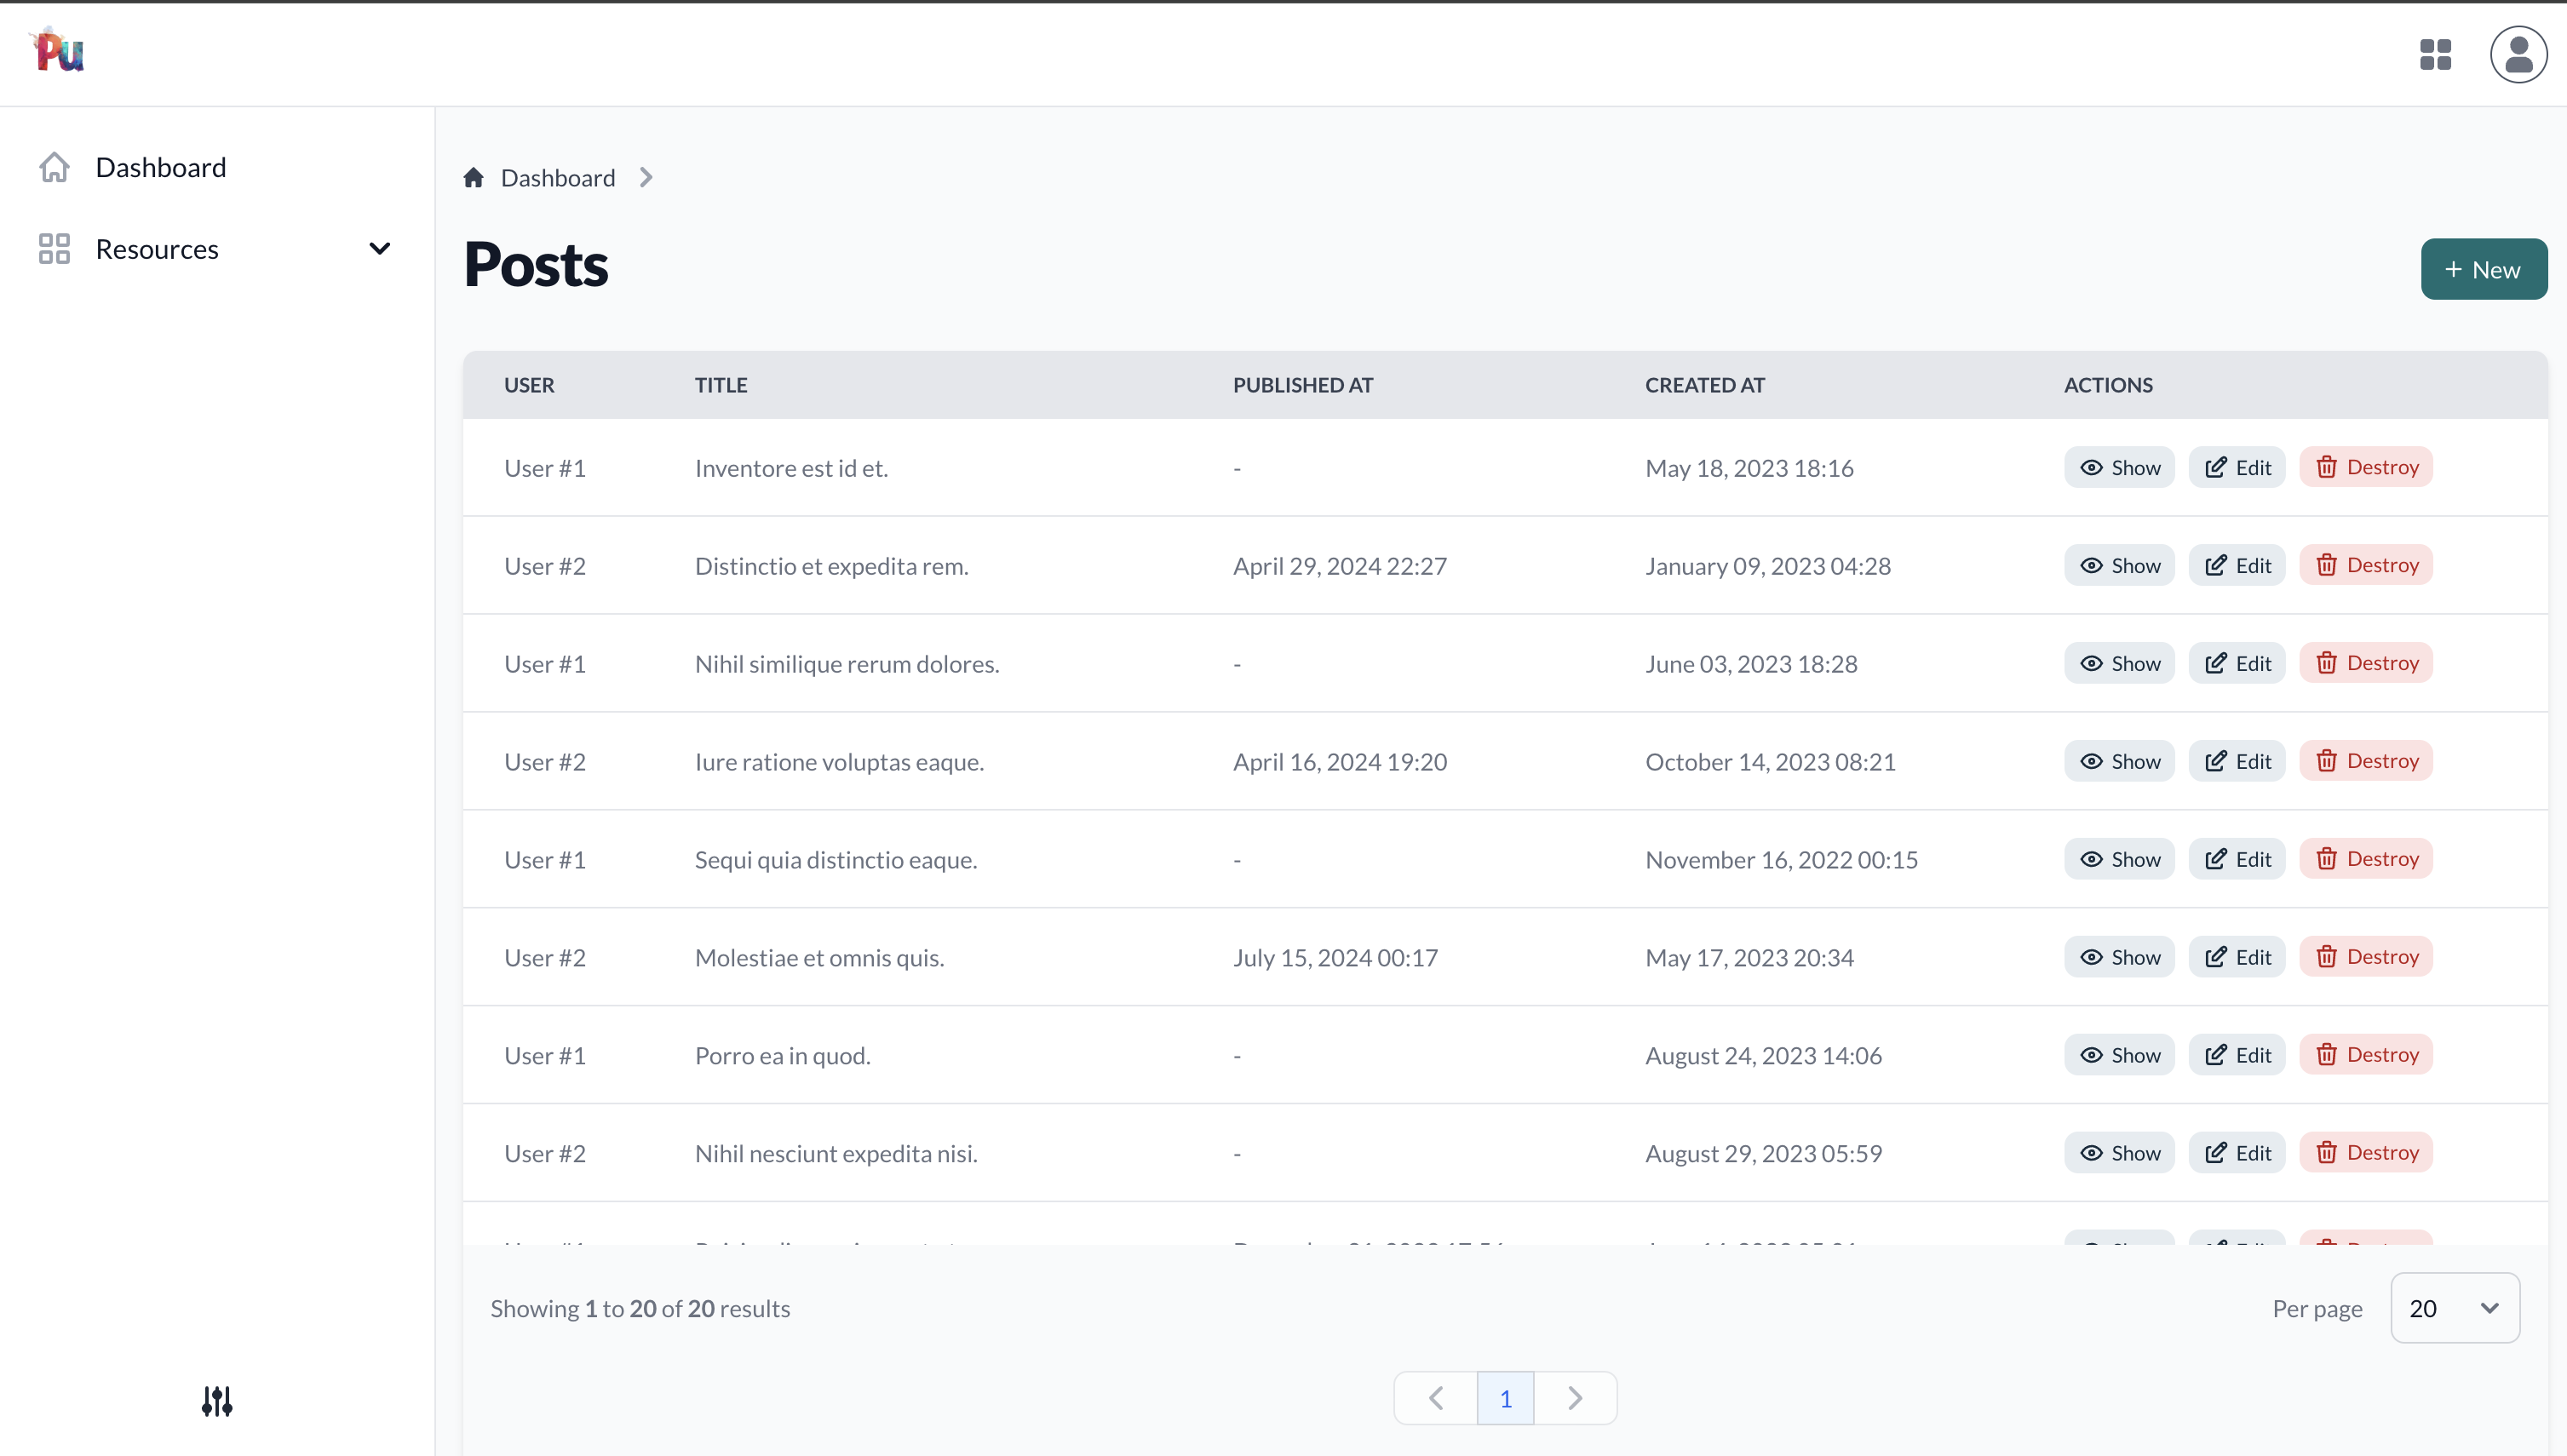
Post Detail View
Customize the post detail layout using display grids:
# packages/blogging/app/definitions/blogging/post_definition.rb
class Blogging::PostDefinition < Blogging::ResourceDefinition
  display :user, wrapper: {class: "col-span-full"}
  display :title, wrapper: {class: "col-span-full"}
  display :content, wrapper: {class: "col-span-full"}
  display :published_at, wrapper: {class: "col-span-full"}
end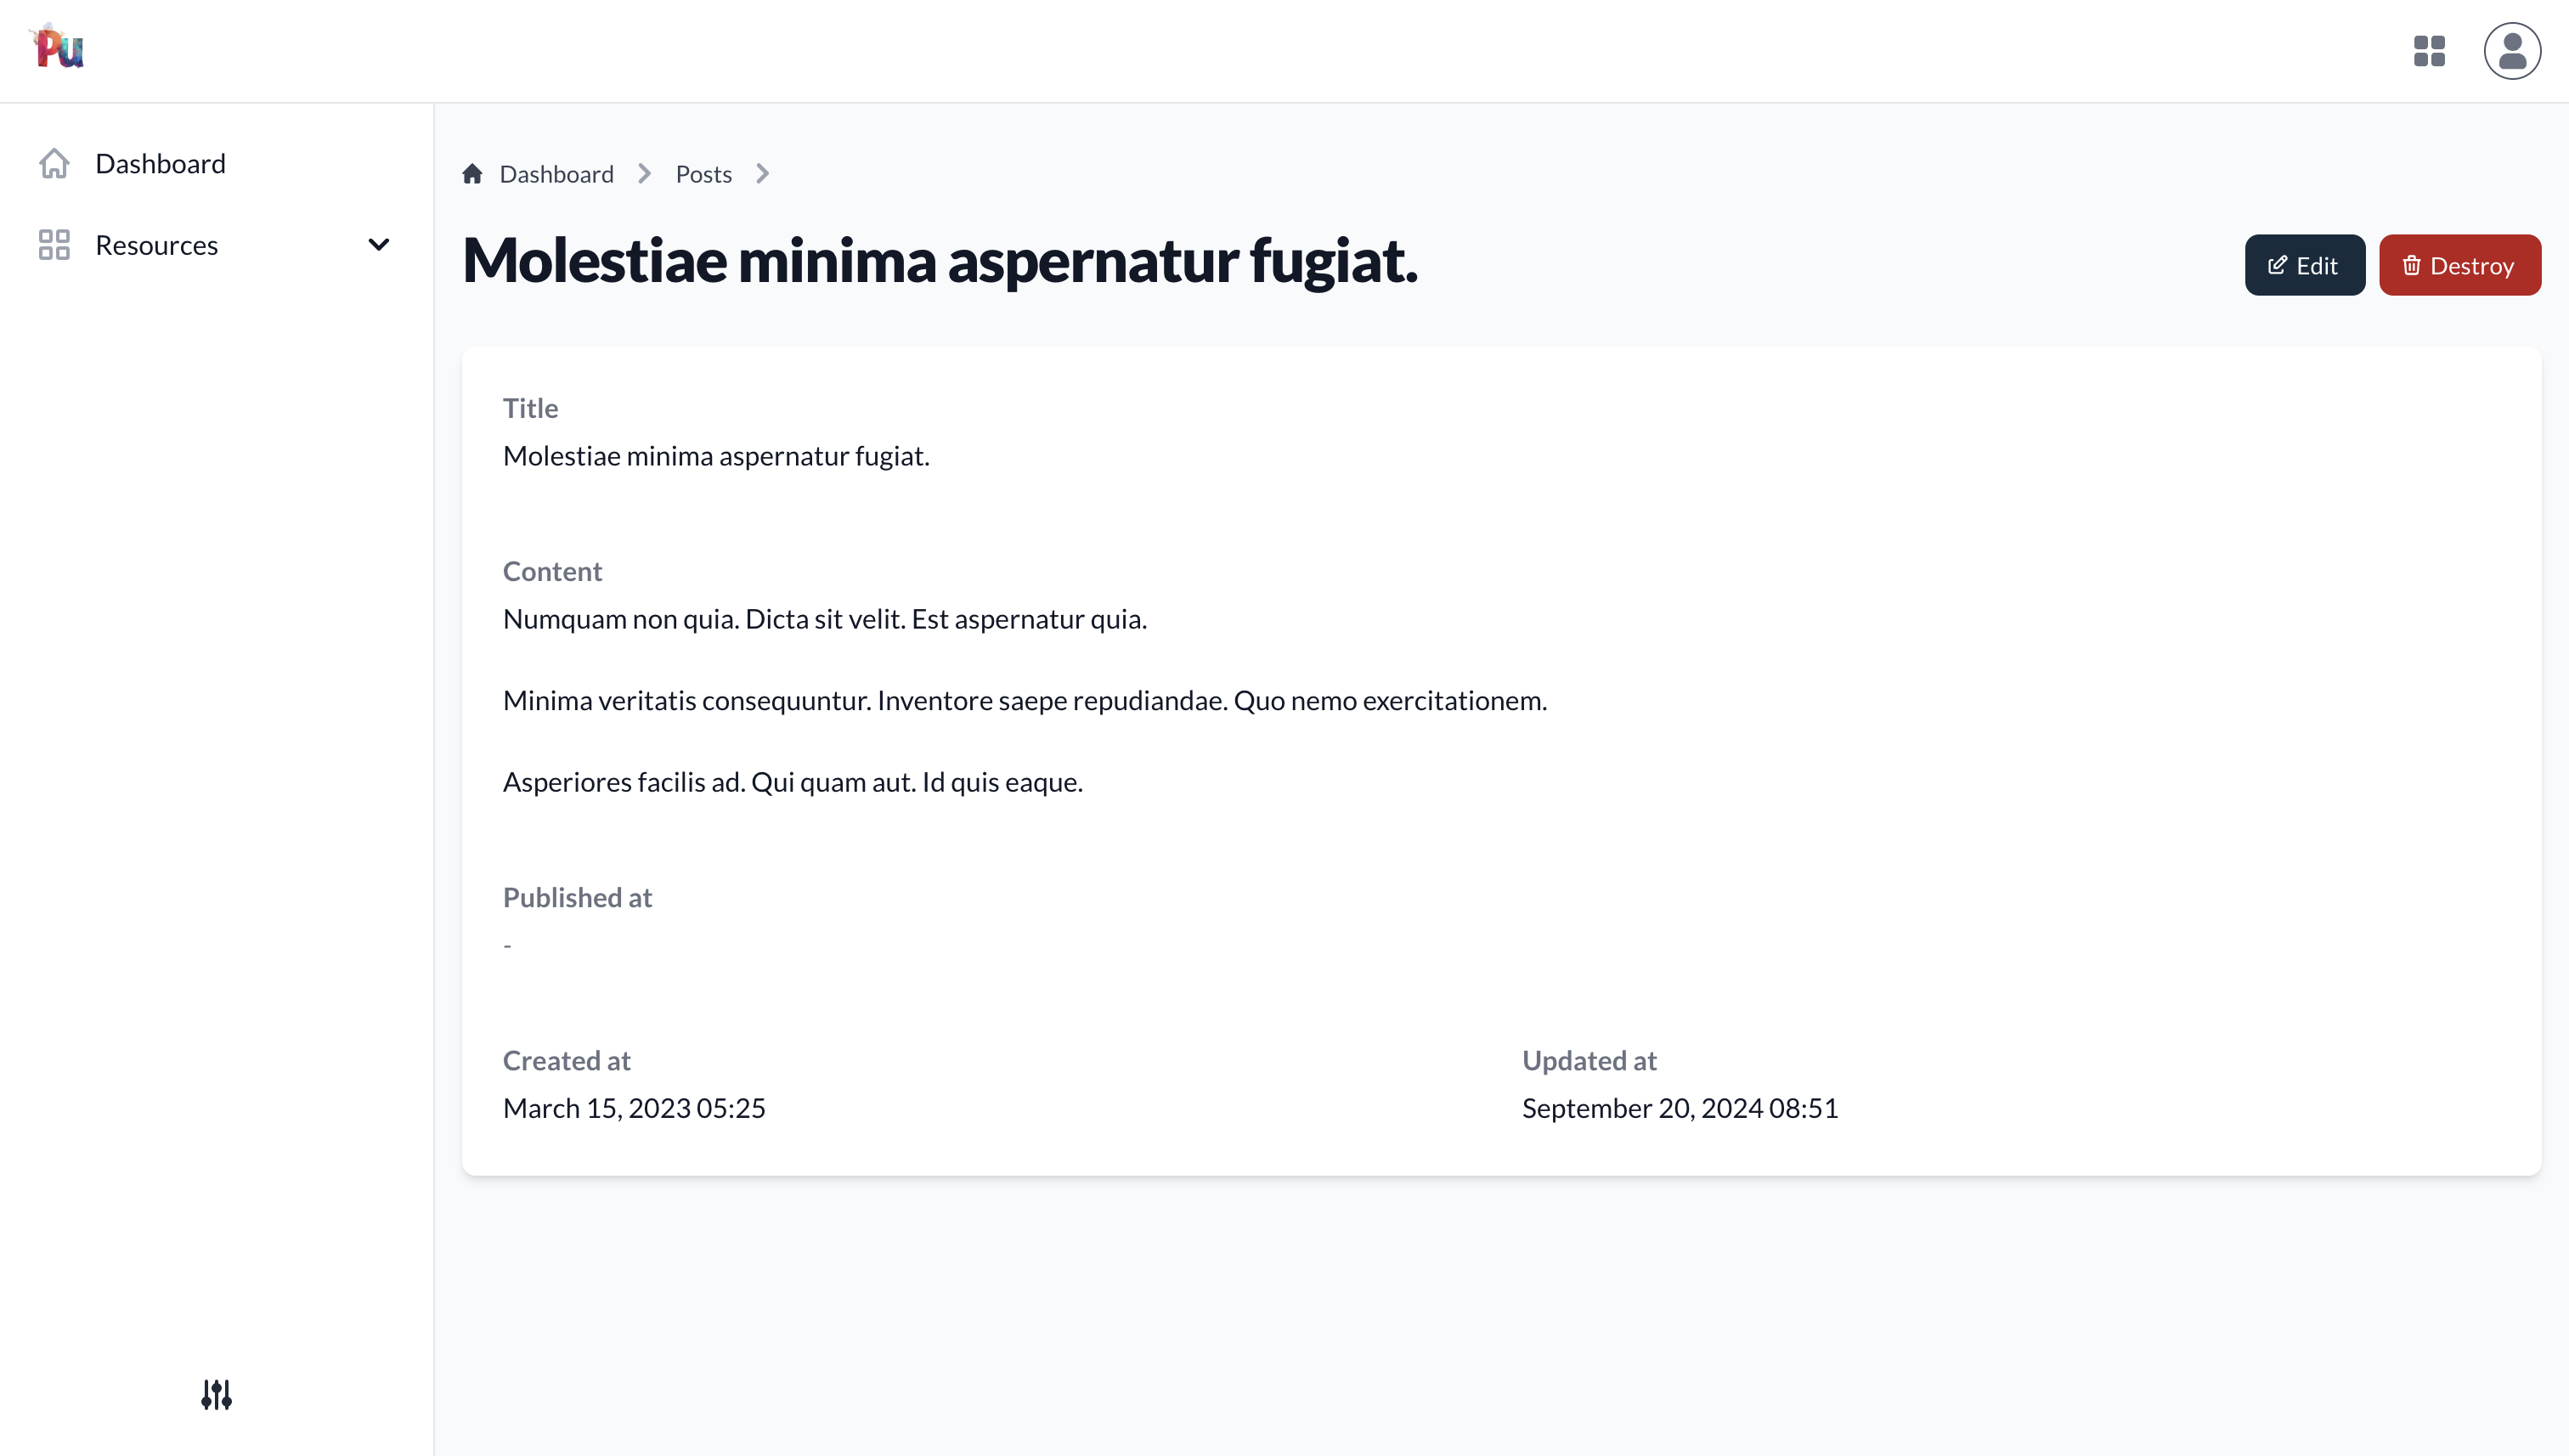
Adding Publishing Functionality
Let's add the ability to publish posts:
# packages/blogging/app/definitions/blogging/post_definition.rb
action :publish,
       interaction: Blogging::Posts::Publish,
collection_record_action: false # do not show this on the table# packages/blogging/app/interactions/blogging/posts/publish.rb
module Blogging
module Posts
class Publish < ResourceInteraction
presents label: "Publish Post", icon: Phlex::TablerIcons::Send
attribute :resource
def execute
if resource.update(published_at: Time.current)
succeed(resource)
.with_message("Post was successfully published")
else
failed(resource.errors)
end
end
end
end
end# packages/blogging/app/policies/blogging/post_policy.rb
def publish?
!record.published_at
end
def permitted_attributes_for_create
[:user, :title, :content, :published_at]
[:user, :title, :content]
end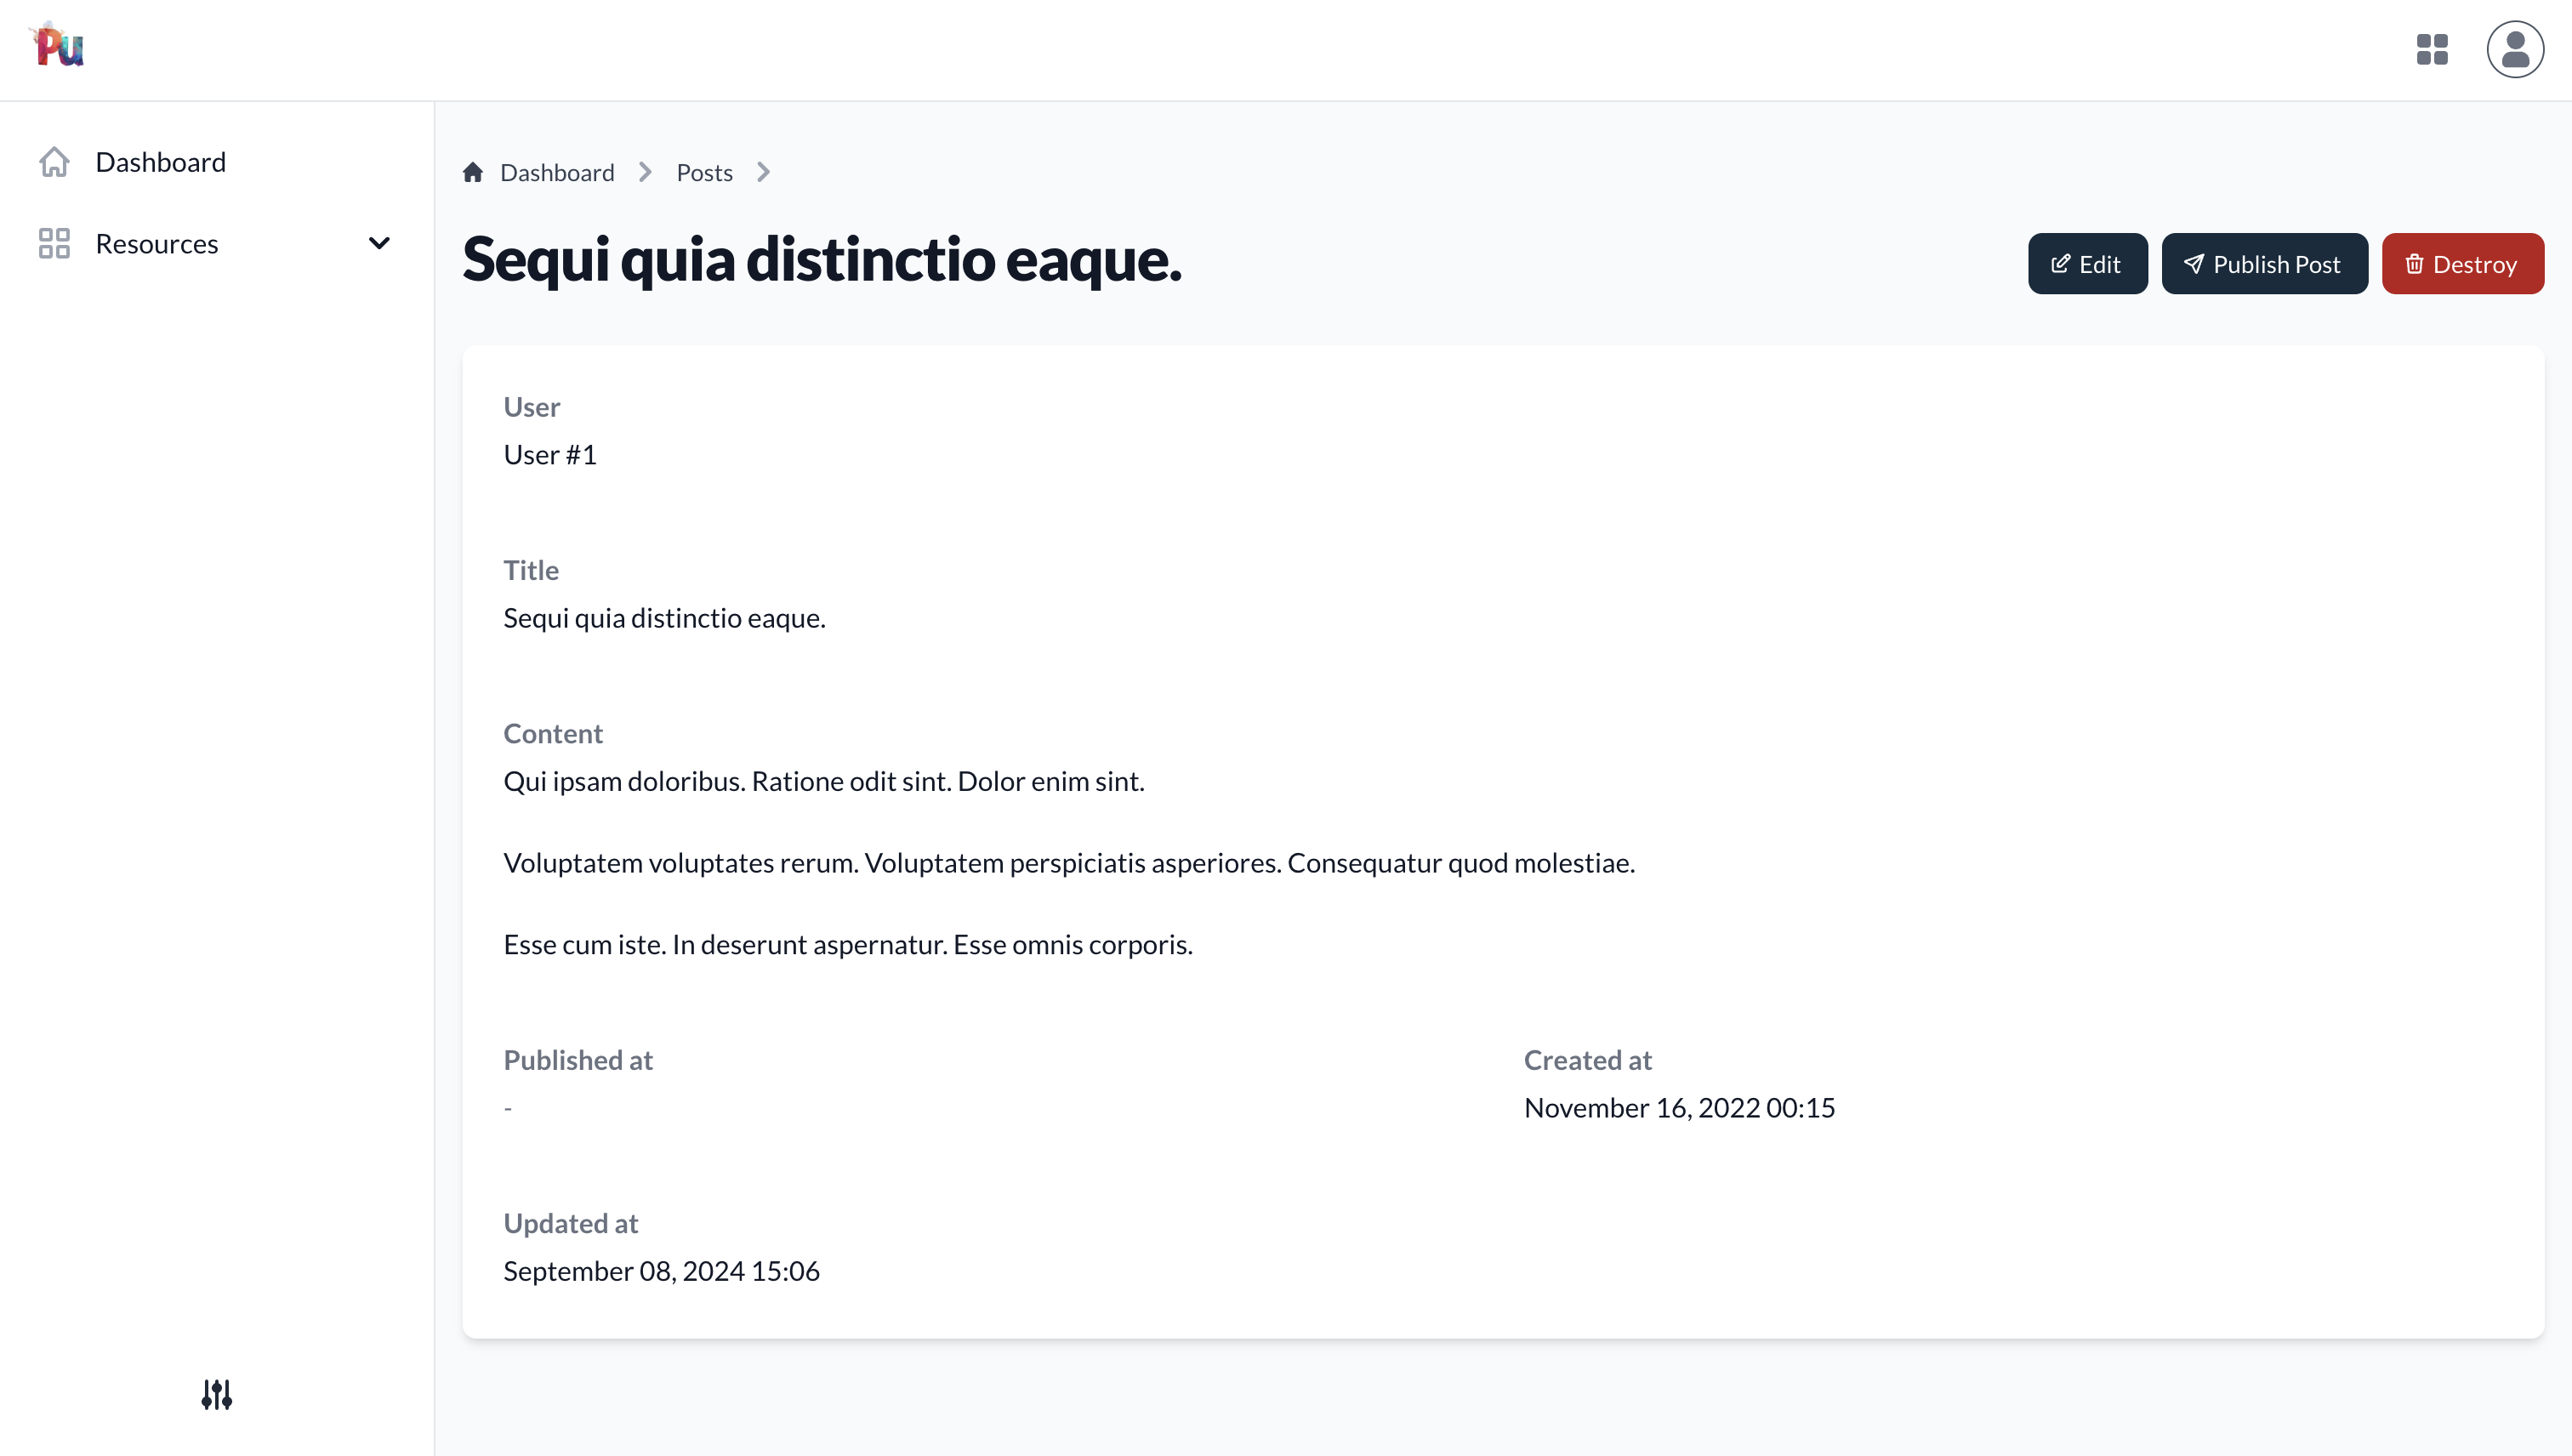
Adding Comments Panel
Enable viewing comments on posts:
# packages/blogging/app/models/blogging/post.rb
has_many :comments# packages/blogging/app/policies/blogging/post_policy.rb
def permitted_associations
%i[comments]
end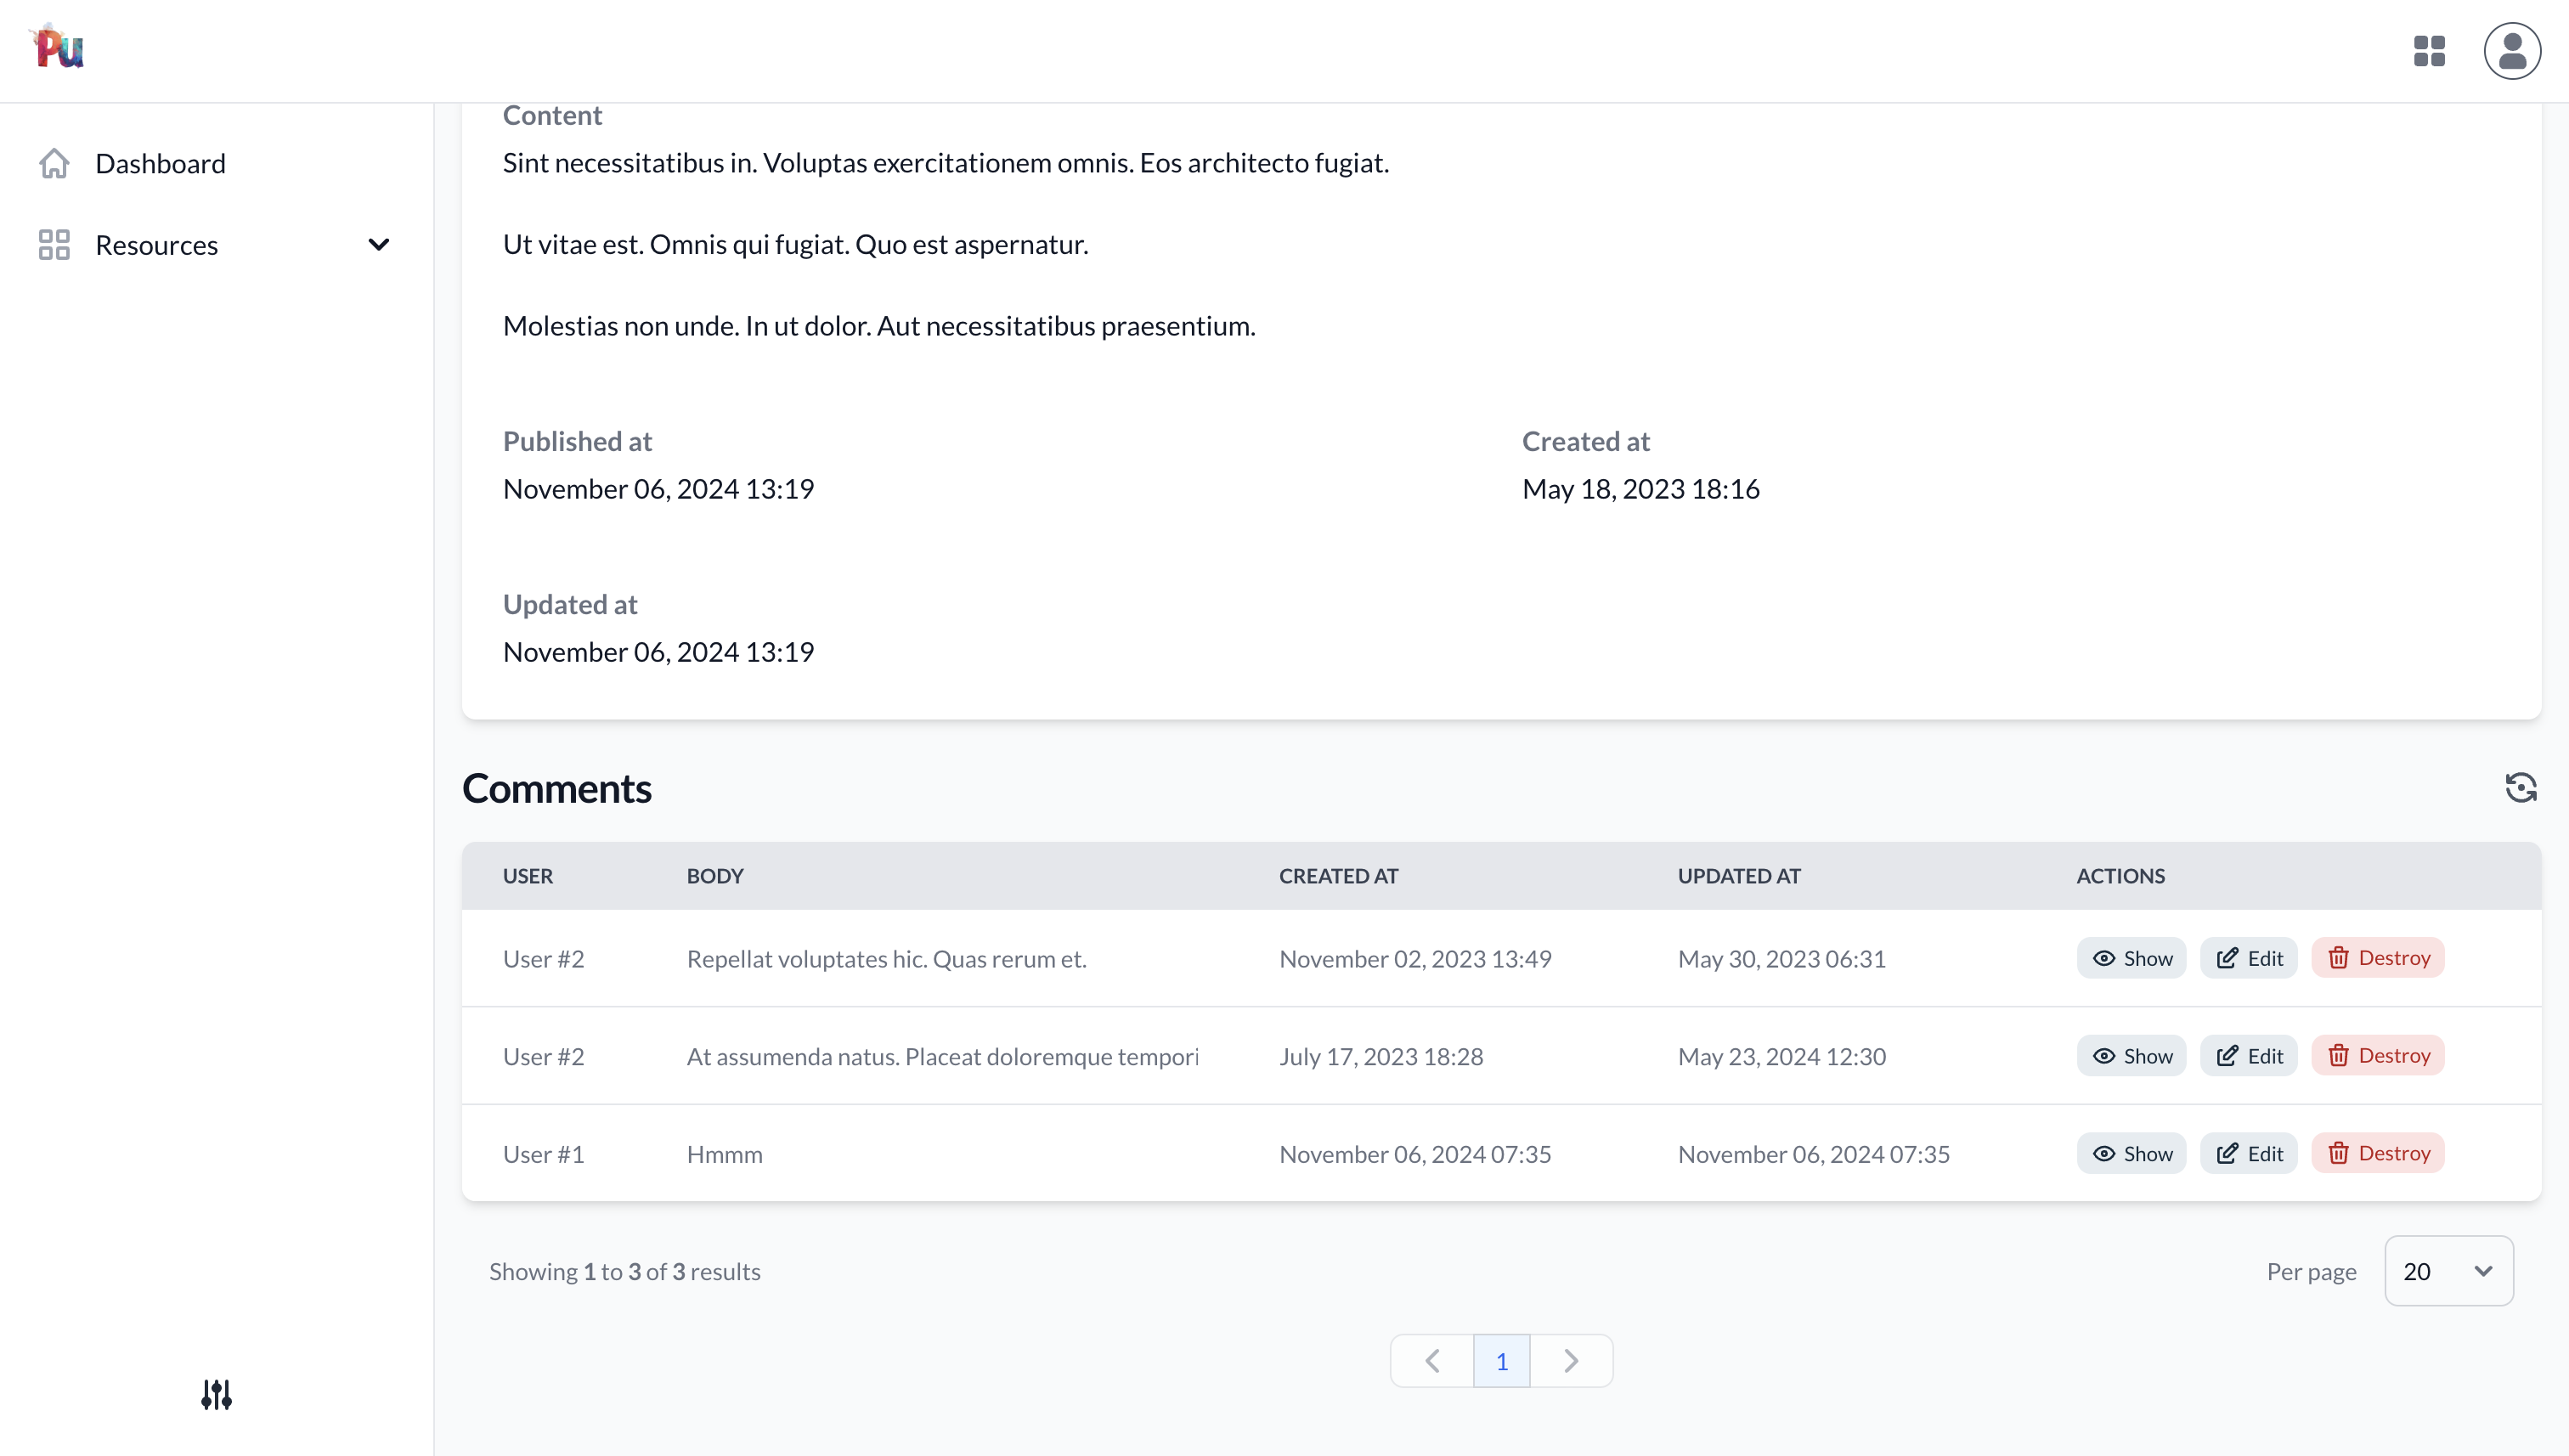
Scoping Resources
Ensure users only see their own content:
# packages/dashboard_portal/lib/engine.rb
module DashboardPortal
  class Engine < Rails::Engine
    include Plutonium::Portal::Engine

    config.after_initialize do
      scope_to_entity User, strategy: :current_user
    end
  end
end
Adding Nested Comments
Enable adding comments directly from the post form:
# packages/blogging/app/definitions/blogging/post_definition.rb
nested_input :comments,
  using: Blogging::CommentDefinition,
fields: %i[user body]# packages/blogging/app/models/blogging/post.rb
has_many :comments
accepts_nested_attributes_for :comments# packages/blogging/app/policies/blogging/post_policy.rb
def permitted_attributes_for_create
[:user, :title, :content]
[:user, :title, :content, :comments]
end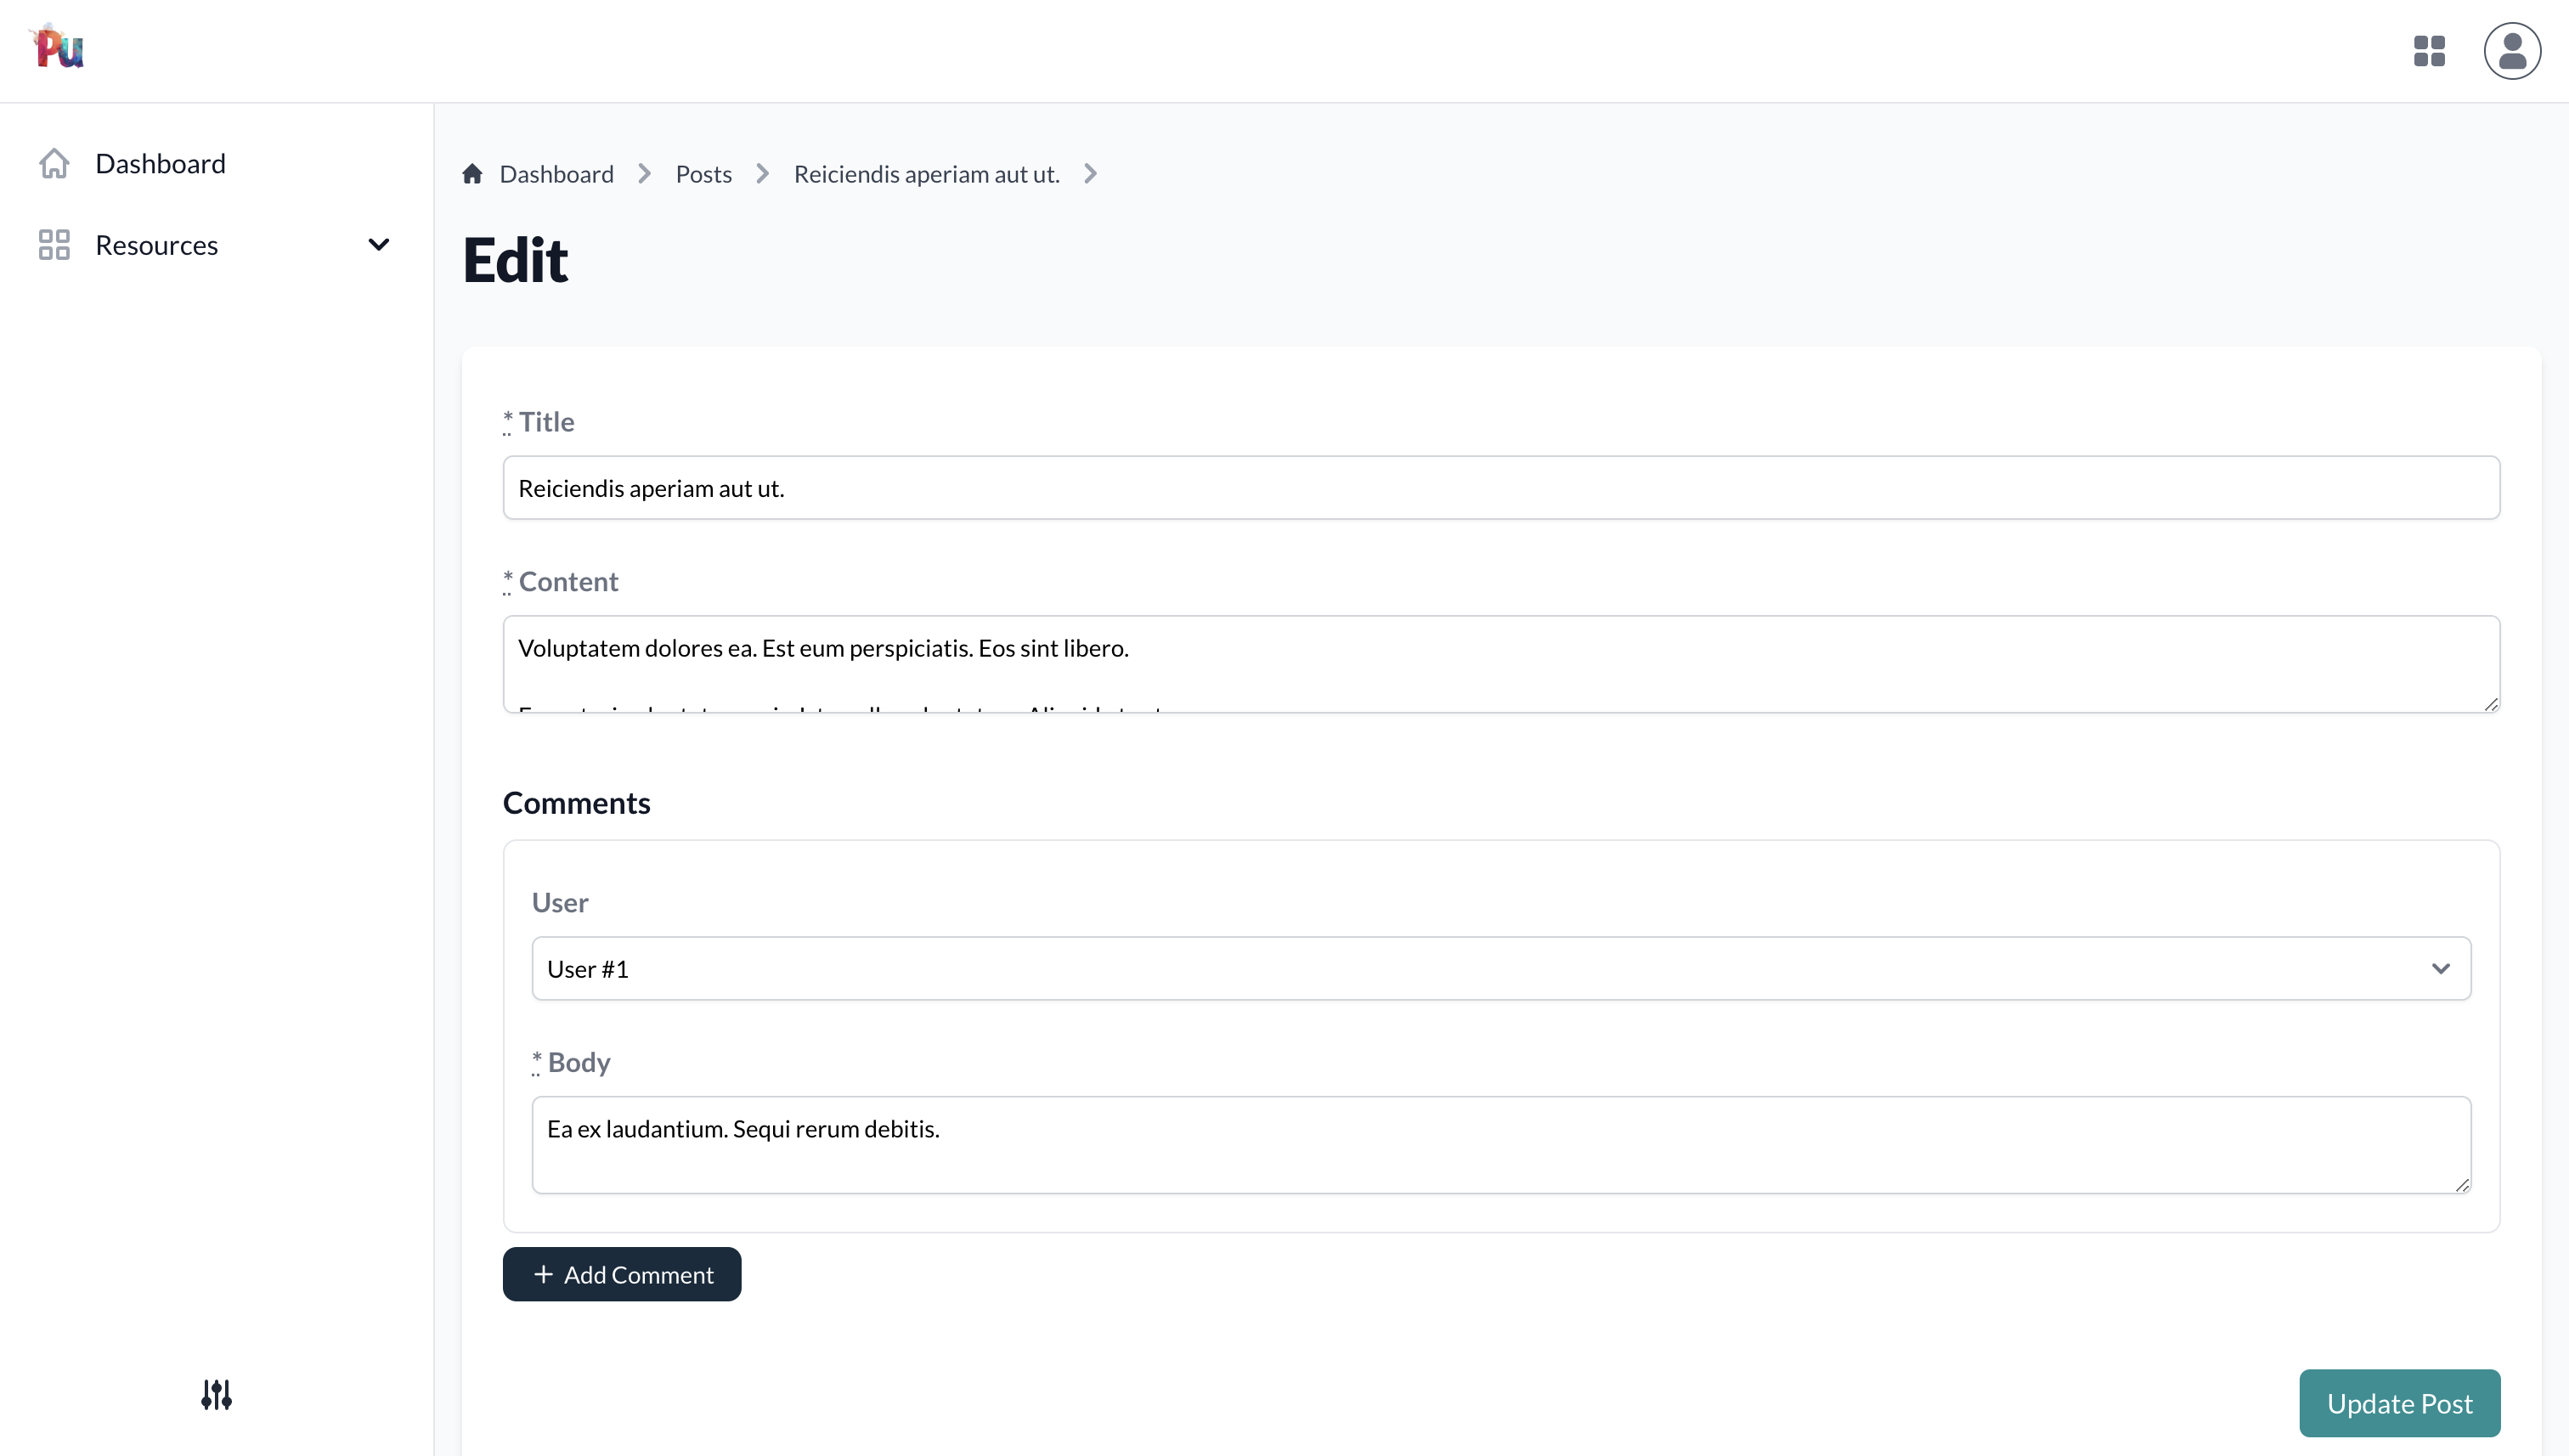
Running the Application
- Start the Development server:
bin/devVisit
http://localhost:3000Create a user account and start managing your blog!
What's Next?
Some ideas for extending the application:
- Add categories/tags for posts
- Implement comment moderation
- Add rich text editing for post content
- Create a public-facing blog view
- Add image attachments for posts
- Implement social sharing
Conclusion
In this tutorial, we've built a full-featured blog application with:
- User authentication
- Post management
- Commenting system
- Publishing workflow
- Proper authorization
- User-scoped content
Plutonium helped us quickly scaffold and connect the pieces while maintaining clean separation of concerns through its package system.
